Imagine you’re out in the wild, and your knife, your trusty tool, has lost its edge after helping you through many outdoor challenges. Don’t worry; you can sharpen it using just a stone.
I’m Casey Harper, a wilderness survival expert, and today, I’ll show you how to bring back your knife’s sharpness so it’s ready for action.
The Role of the Edge
The edge of a knife is a delicate structure, a fine balance between too thin, which will dull quickly or chip, and too thick, which will make cutting laborious. The angle of the edge, typically between 15 to 30 degrees, is determined by the knife’s purpose.
Delicate kitchen work often requires a finer angle, while rugged outdoor use calls for a sturdier edge. The type of steel also plays a role; harder steel can maintain a sharper edge but is more brittle, while softer steel is tougher but may not hold the finest edge as well.
Selecting a Sharpening Stone
Sharpening stones, also known as whetstones, come in various materials and grits.
Natural stones, like Arkansas stones or Japanese water stones, offer unique textures, while synthetic stones provide consistency and often a lower price point.
In the midst of honing your blade, remember that a reliable flame source is just as vital in the wilderness; our selection of combustion devices ensures you’re never left in the cold.
Diamond plates are durable and cut faster, but they can remove too much material if not used carefully. Ceramic stones are great for finishing an edge due to their fine grit. The grit size of a stone will dictate its purpose:
- coarse stones (below 1000 grit) reshape and repair edges,
- medium stones (1000-3000 grit) sharpen,
- and fine stones (above 3000 grit) hone and polish the edge.
While selecting the appropriate sharpening stone is crucial, understanding the broader spectrum of bushcraft tools and their maintenance can significantly enhance your wilderness preparedness. Having the right tools is a must when in nature.
Preparing Your Stone and Knife

Before sharpening, it’s important to prepare your stone according to its type. Soaking water stones is crucial as it prevents the pores from clogging with metal filings, while oil stones require a specific sharpening oil.
Diamond and ceramic stones are often used dry, but some prefer to use water for lubrication and cleaning. Your knife should be clean and dry, with any rust or corrosion removed to ensure a smooth sharpening process.
The Sharpening Technique
Sharpening a knife is a skill that can be developed with practice and patience. It’s about consistency and maintaining the correct angle throughout the process.
For those moments when your sharpened knife is put to the test in the wilderness, knowing alternative methods to accomplish everyday tasks, like opening a can when a can opener isn’t within reach, can be incredibly handy.
Finding the Angle
The angle you choose is critical to the knife’s performance. A simple way to find the right angle is to place your knife perpendicular to the stone, then halve that angle, and halve it again. This will get you close to a 20-degree angle, which is suitable for most knives.
Some sharpeners use angle guides, but with practice, muscle memory will take over.
The Sharpening Process
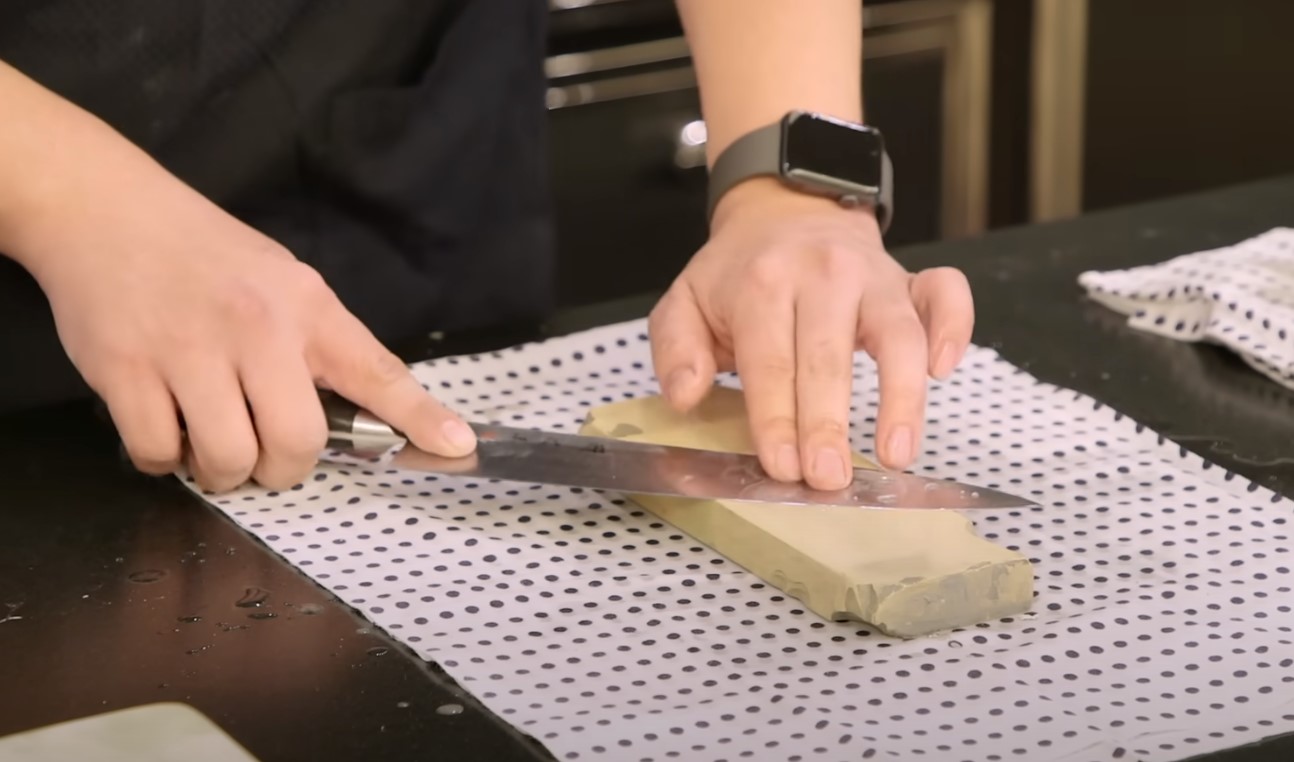
- Start with the coarse-grit side of your stone if your knife is dull or damaged.
- Place the knife on the stone at the correct angle, apply moderate pressure, and slide the knife across the stone as if you were trying to slice a thin layer off the top.
- Start at the knife’s heel and end at the tip, maintaining the angle throughout the stroke.
Repeat this process, counting the strokes, and then perform the same number of strokes on the other side to ensure an even edge. As you work, a burr—a small fold of metal—will form on the edge, indicating that you have sharpened one side enough.
Once you’ve raised a burr along the entire edge, switch to the finer gritstone to refine and polish the edge.
Honing Your Skills
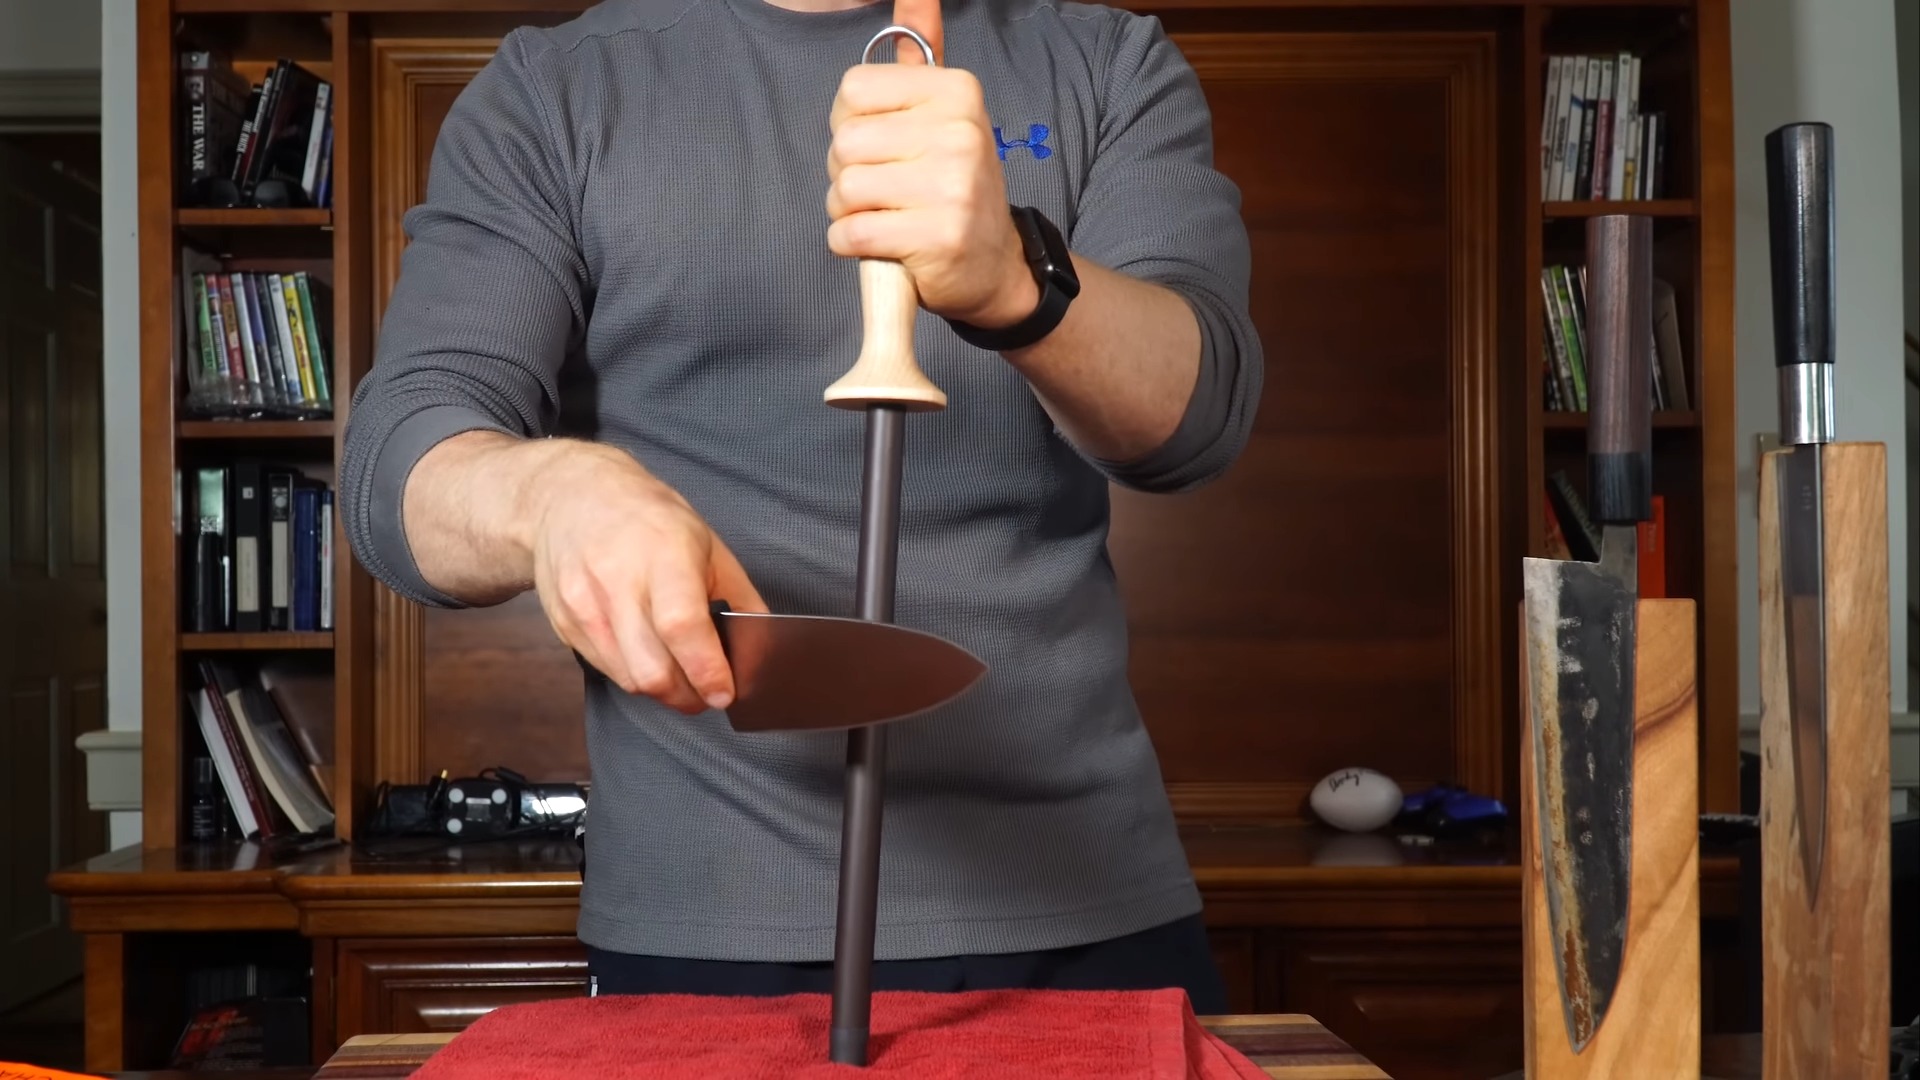
After sharpening, honing is what brings the edge from sharp to razor-sharp. It aligns the edge and polishes it, removing the burr and any remaining imperfections. Using a finer grit stone, repeat the sharpening process but with lighter pressure.
This is not about grinding away metal but about refining and straightening the edge you’ve just formed. The number of strokes here is less than during the sharpening stage; often, a few passes are enough to achieve a sharp edge.
Testing and Using Your Edge
A sharp knife should be able to cut through paper effortlessly or shave the hair on your arm. After honing, test your knife to ensure it meets your sharpness standards. If it doesn’t, revisit the honing stage. Once sharp, your knife is ready for use, but remember that maintaining this edge requires regular honing, proper use, and storage.
While honing your blade to perfection, it’s equally important to know what natural resources you can rely on for sustenance in the wild, such as identifying edible plants and fruits that can be a crucial part of survival.
How to Maintain Your Sharpening Stone?

Maintaining your sharpening stone is critical to ensure it continues to provide a consistent sharpening surface. Here are some best practices for maintaining different types of sharpening stones:
For Water Stones
- Flattening: Over time, water stones can wear unevenly, creating a dished-out area where most of the sharpening occurs. To maintain a flat surface, you should flatten your stone regularly using a flattening plate or a flattening stone.
- Cleaning: After each use, rinse your water stone with water to remove any metal filings and slurry that have accumulated. If needed, use a small amount of mild dish soap and a soft brush to gently clean the surface.
- Drying: Allow your waterstone to air dry completely before storing it. Do not expose it to extreme temperatures or direct sunlight while drying, as this can cause it to crack or warp.
- Storage: Once dry, store it in a cool, dry place. Some stones come with protective boxes or cases—use these to prevent any damage.
For Oil Stones
- Oil Application: Use the recommended honing oil to lubricate the stone during sharpening. The oil helps float away metal filings and keeps the stone from clogging.
- Cleaning: Wipe off excess oil with a clean rag after each use. If the stone becomes glazed or clogged, you can scrub it with a stiff brush and honing oil, or use a stone cleaner specifically designed for oil stones.
- Drying and Storage: Oil stones do not require drying like water stones. After cleaning, simply store your oil stone in a box or case to keep it clean and protected.
For Diamond Stones
- Cleaning: Diamond stones can be cleaned with water and a little dish soap. Use a nylon brush to remove any metal particles from the surface.
- Rinsing: After cleaning, rinse the stone thoroughly with water to ensure all soap and debris are removed.
- Drying: Wipe the diamond stone with a clean cloth and let it air dry.
- Storage: Store it flat in a dry place to avoid exposure to moisture, which could potentially rust the metal dots holding the diamonds.
For Ceramic Stones
- Cleaning: Ceramic stones should be cleaned with water and a small amount of dish soap. A scouring pad can be used for stubborn deposits.
- Rinsing and Drying: Rinse the stone well and allow it to air dry.
- Storage: Store ceramic stones in a safe place where they won’t be dropped or knocked over, as they are brittle and can crack.
General Tips
- Check your stones for any cracks or chips before and after use.
- Avoid dropping or knocking your stones against hard surfaces to prevent cracking.
- Use the entire surface of the stone when sharpening to maintain even wear.
By following these maintenance tips, you can extend the life of your sharpening stones and ensure they remain effective for sharpening your knives.
Essential Wilderness Gear: Beyond the Knife
In the realm of wilderness survival, a sharp knife is undoubtedly a fundamental tool. However, the savvy outdoors person knows that survival extends beyond a keen blade. Essential gear encompasses a range of items designed for safety, sustenance, and sustainability in the wild.
This includes reliable shelter options, fire-starting tools, navigation aids, and, critically, methods for securing clean drinking water. Each piece of gear plays a pivotal role in ensuring not just survival, but also the ability to thrive in natural environments.
Understanding and equipping these essentials can transform your outdoor experience, making it safer and more enjoyable.
FAQs
How often should I sharpen my knife with a stone?
The frequency of sharpening your knife with a stone depends on how often you use it and what you’re cutting. For regular home kitchen use, sharpening every 1-2 months might be sufficient.
For professional chefs or frequent outdoor use, you might need to sharpen your knife more often, possibly weekly. The key is to hone your knife regularly and sharpen it when you notice it’s not performing as well as it should.
Can I sharpen serrated knives and scissors with a stone?
Serrated knives require a different technique and typically a rod-shaped sharpener designed to fit into the serrations. Scissors can be sharpened with a stone, but they require a flat angle and a careful approach to maintain the proper edge alignment.
It’s recommended to use a stone with medium to fine grit for scissors.
How do I know if I’m applying the right amount of pressure when sharpening?
The right amount of pressure is enough to feel the stone’s resistance against the knife without pressing it down so hard that you risk altering the angle or damaging the edge. A good rule of thumb is to apply just enough pressure as if you’re comfortably writing with a pen.
As you become more experienced, you’ll develop a feel for the right amount of pressure.
Is there a difference in technique when sharpening a Japanese knife compared to a Western knife?
Yes, Japanese knives often have a different blade geometry and are typically sharpened at a more acute angle (about 15 degrees) compared to Western knives (around 20-25 degrees). They also tend to be made of harder steel, which can hold a sharper edge but may be more brittle.
Therefore, a gentler touch and consistent angle are crucial when sharpening Japanese knives.
Can I sharpen my knife with a stone if the blade is chipped or damaged?
Yes, you can sharpen a chipped or damaged blade with a stone, but it will require starting with a coarse grit to grind down the chip or damage. This process can be time-consuming as you need to remove enough material to create a new edge.
For significant damage, it may be best to consult a professional sharpener.
Final Words
Remember that sharpening is an ongoing process; a knife is only as good as its edge, and its edge is only as good as the care you put into it.
When you’re out in the wild, skills like sharpening, and being able to tie a survival knot are essential survival skills.
With the knowledge and techniques outlined in this guide, you’re well on your way to ensuring that your knives remain in peak condition, ready for whatever task lies ahead.
My name is Casey Harper, and I specialize in wilderness survival, navigation, and first aid. With over 12 years of experience as a wilderness survival instructor, I have had the privilege of guiding individuals and groups through challenging outdoor environments, ensuring their safety and teaching them essential survival skills. Additionally, I contribute to GearDisciple by writing insightful articles on survival strategies and reviewing outdoor gear. Through sharing my knowledge and experience, I aim to equip others with the skills and tools necessary for thriving in the wild, embracing the beauty and challenges it presents.