As an expert in outdoor excursions, I’ve learned that the cornerstone of a successful camping trip is a well-set-up shelter. Erecting your shelter is not just about having a place to sleep; it’s about creating a haven in the wild, a skill that I have refined over countless adventures.
Now, I would like to share the knowledge I’ve gathered to help you establish a sturdy and comfortable base.
From selecting the right spot to organizing your gear, I’ll walk you through the essential steps to ensure your shelter is set up efficiently and effectively, providing you with peace of mind as you enjoy the great outdoors.
Step-by-Step Tent Assembly
The actual assembly of your shelter is where the preparation pays off. A methodical approach not only streamlines the process but also ensures that your shelter is sturdy and dependable.
1. Laying Out the Tent
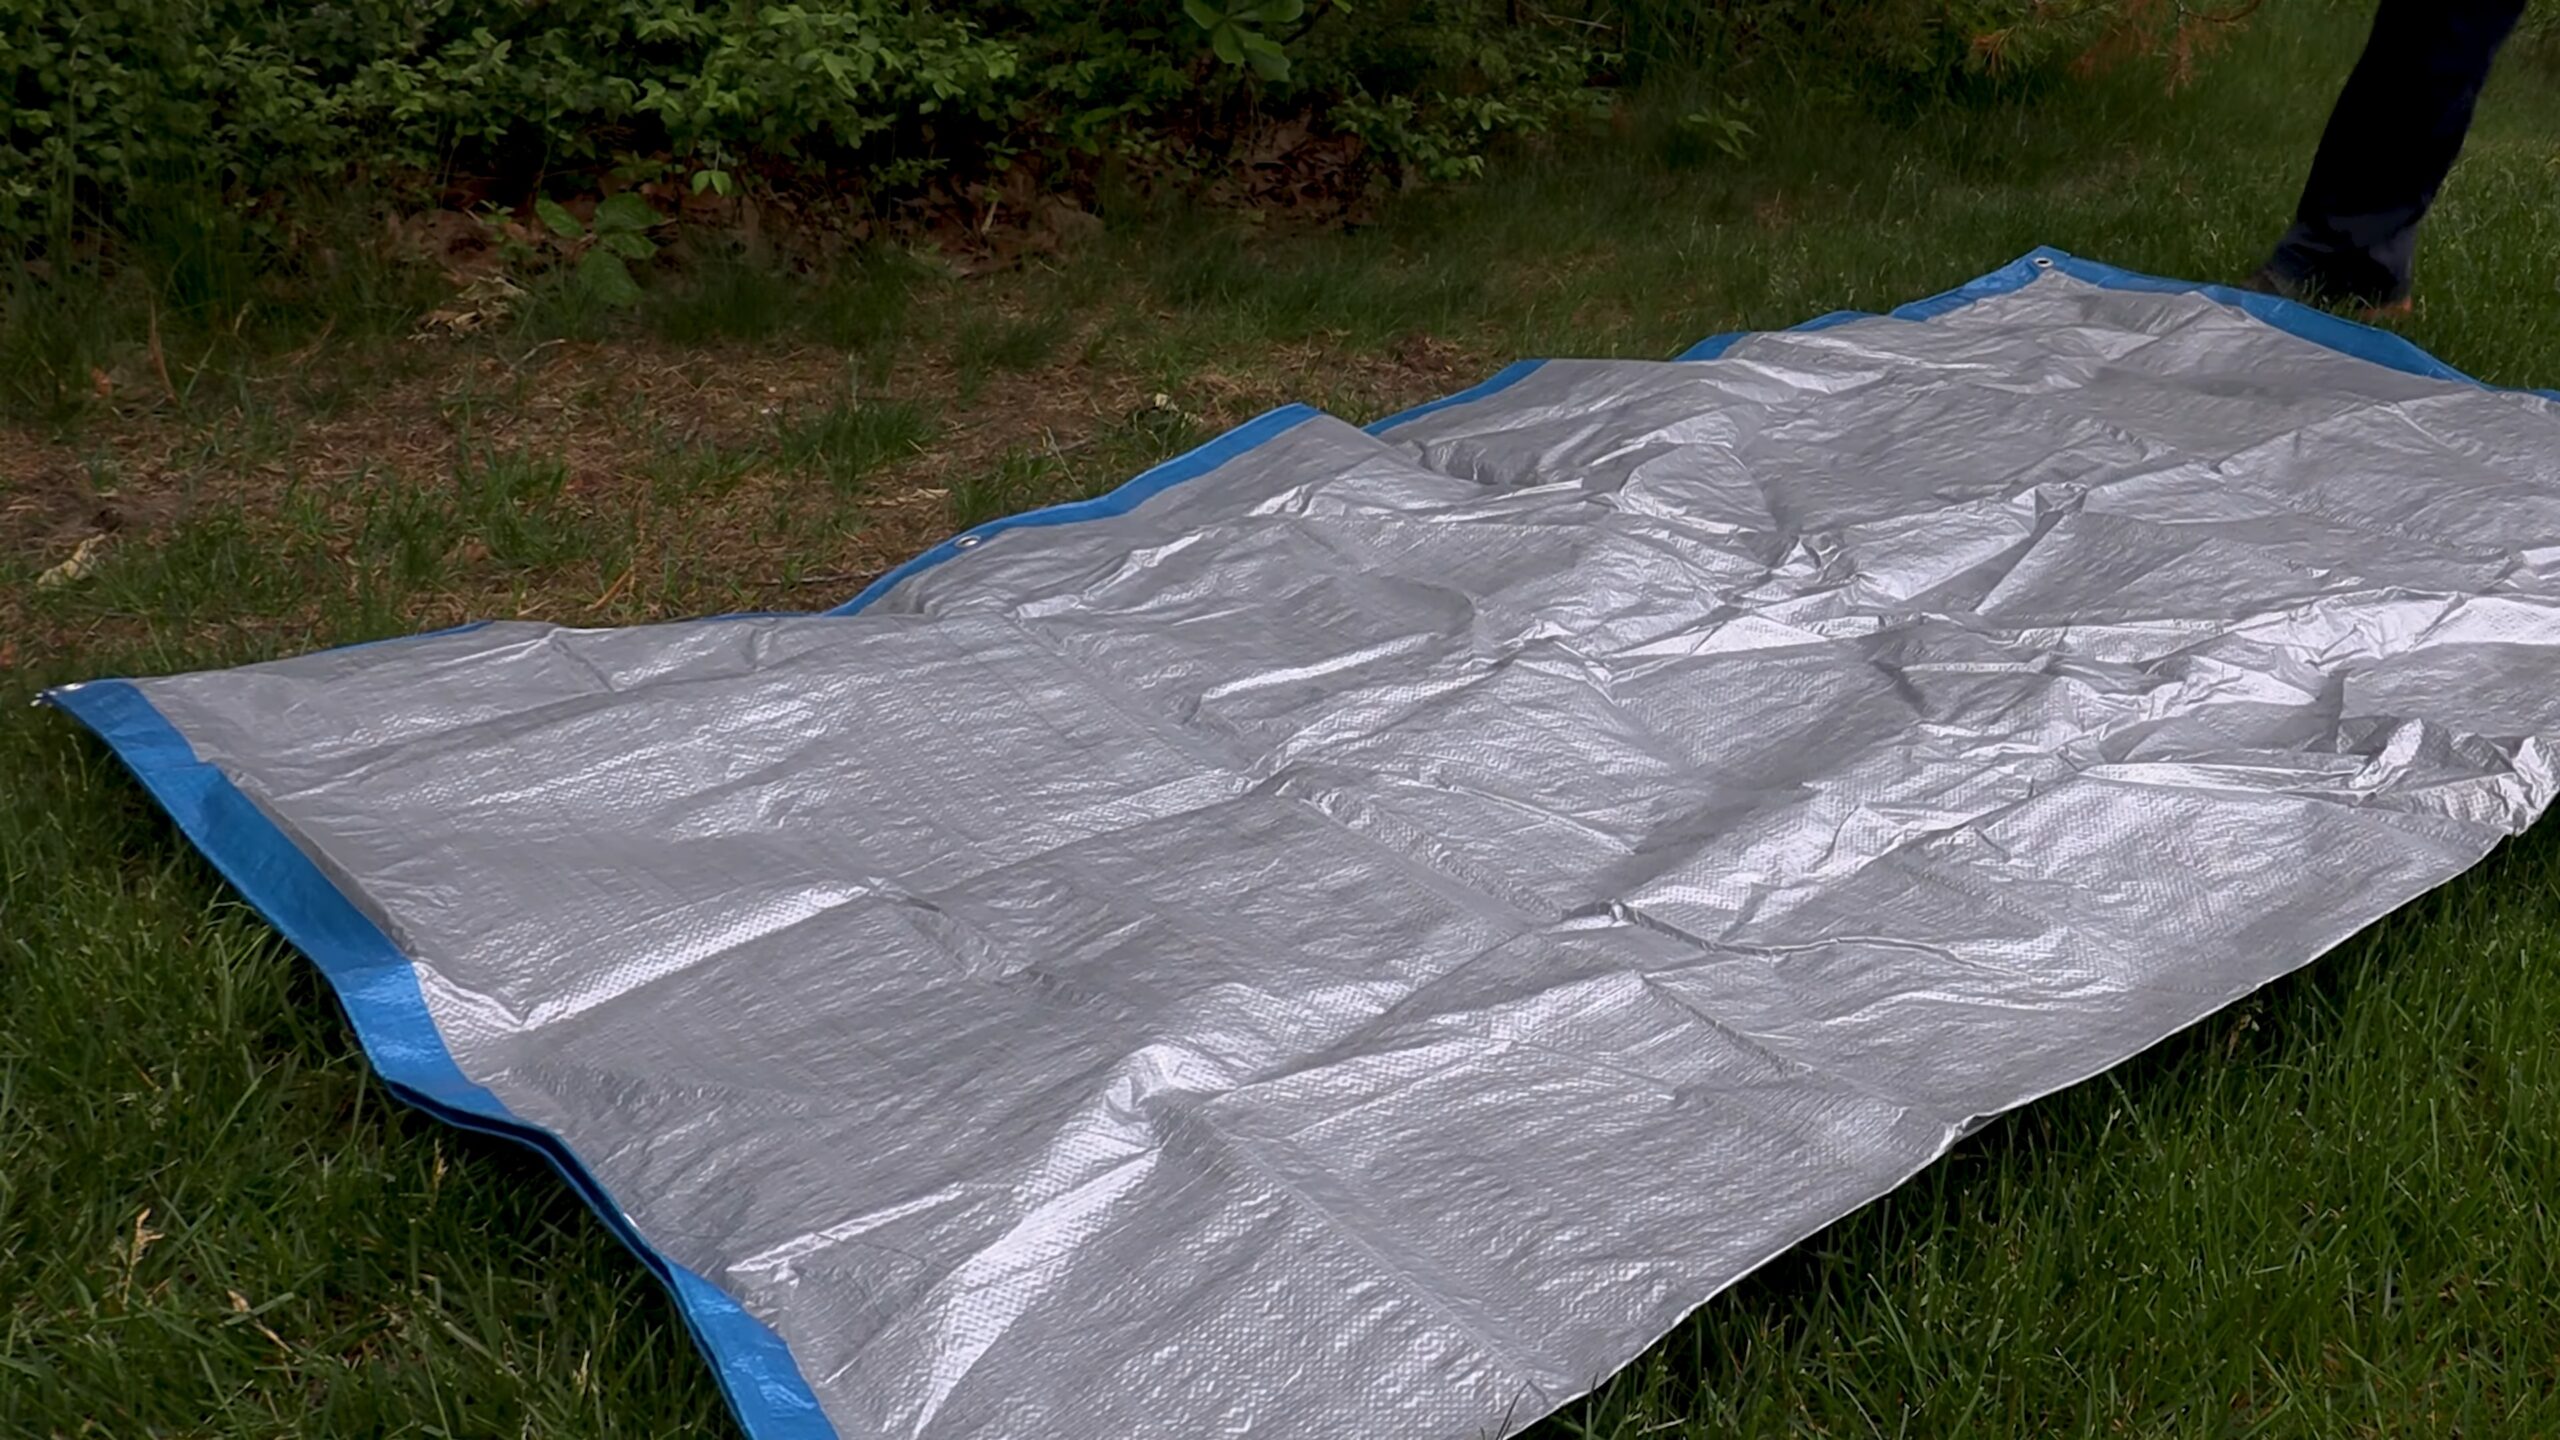
Start by spreading out the shelter’s body on top of the footprint. It’s important to align it with the sleeping area and ensure that the doors and windows are facing a direction that will offer the best ventilation and views. This initial positioning is crucial as it sets the foundation for the rest of the setup.
2. Erecting the Structure
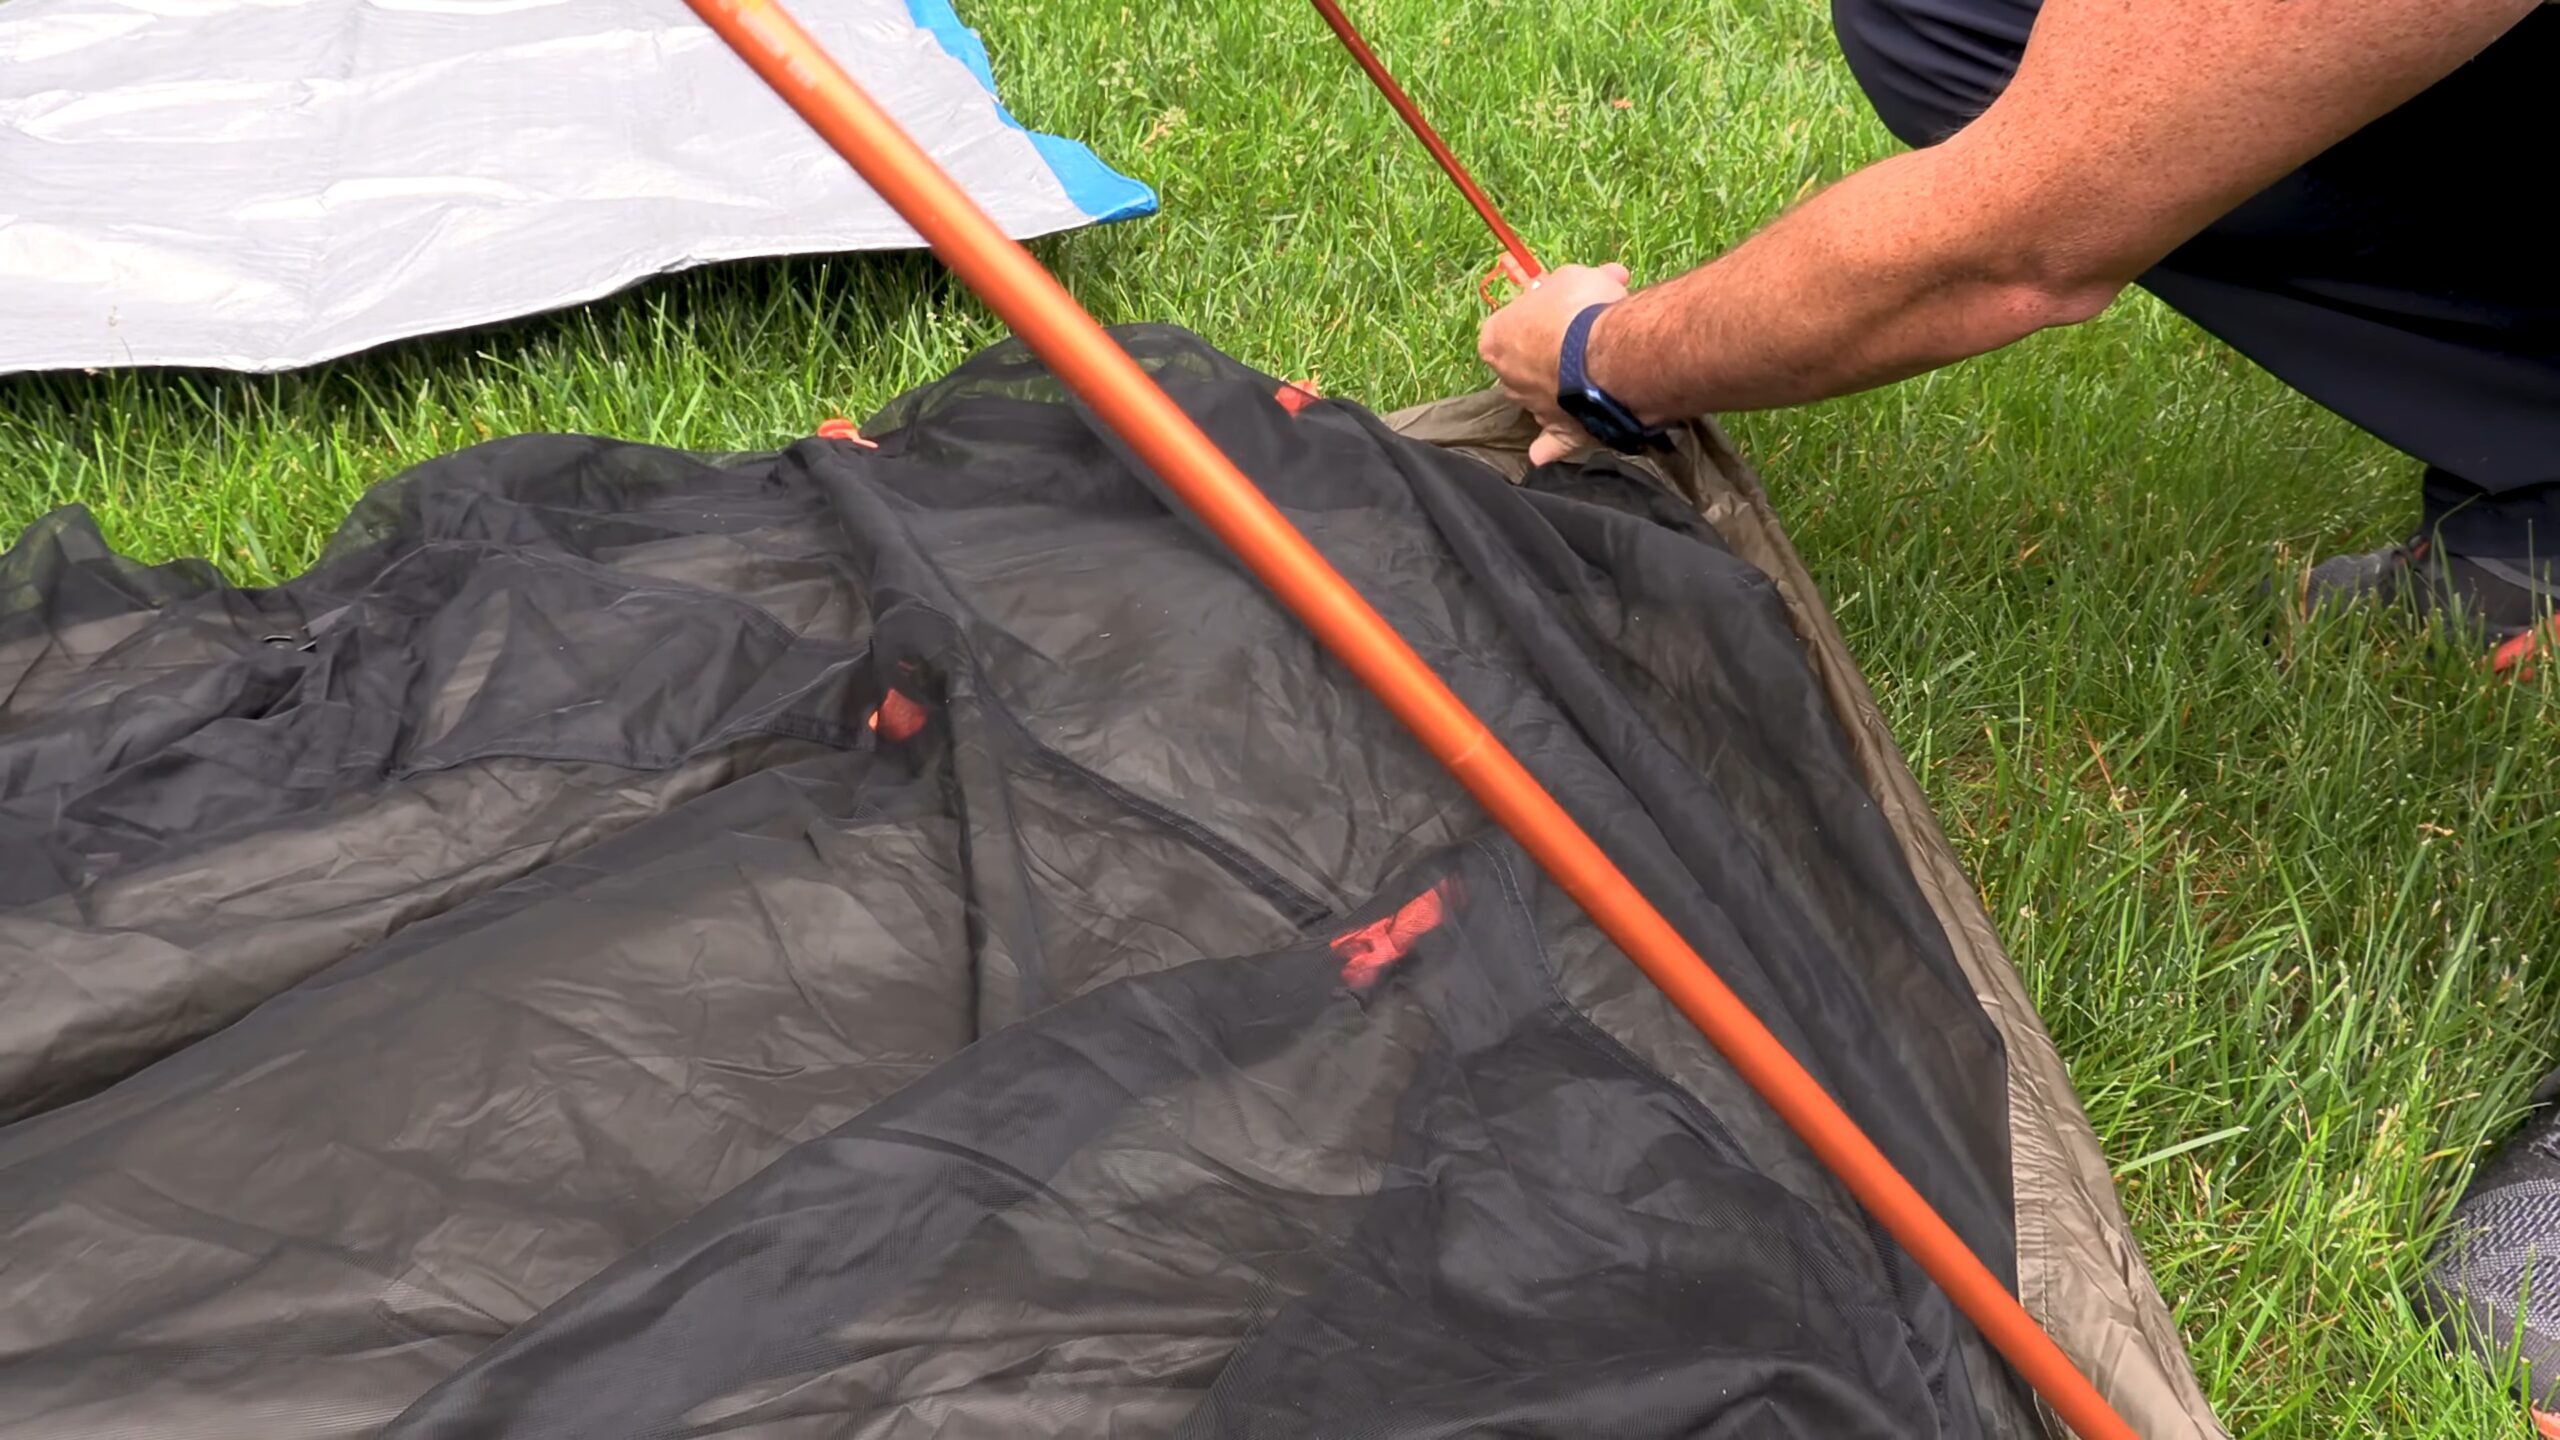
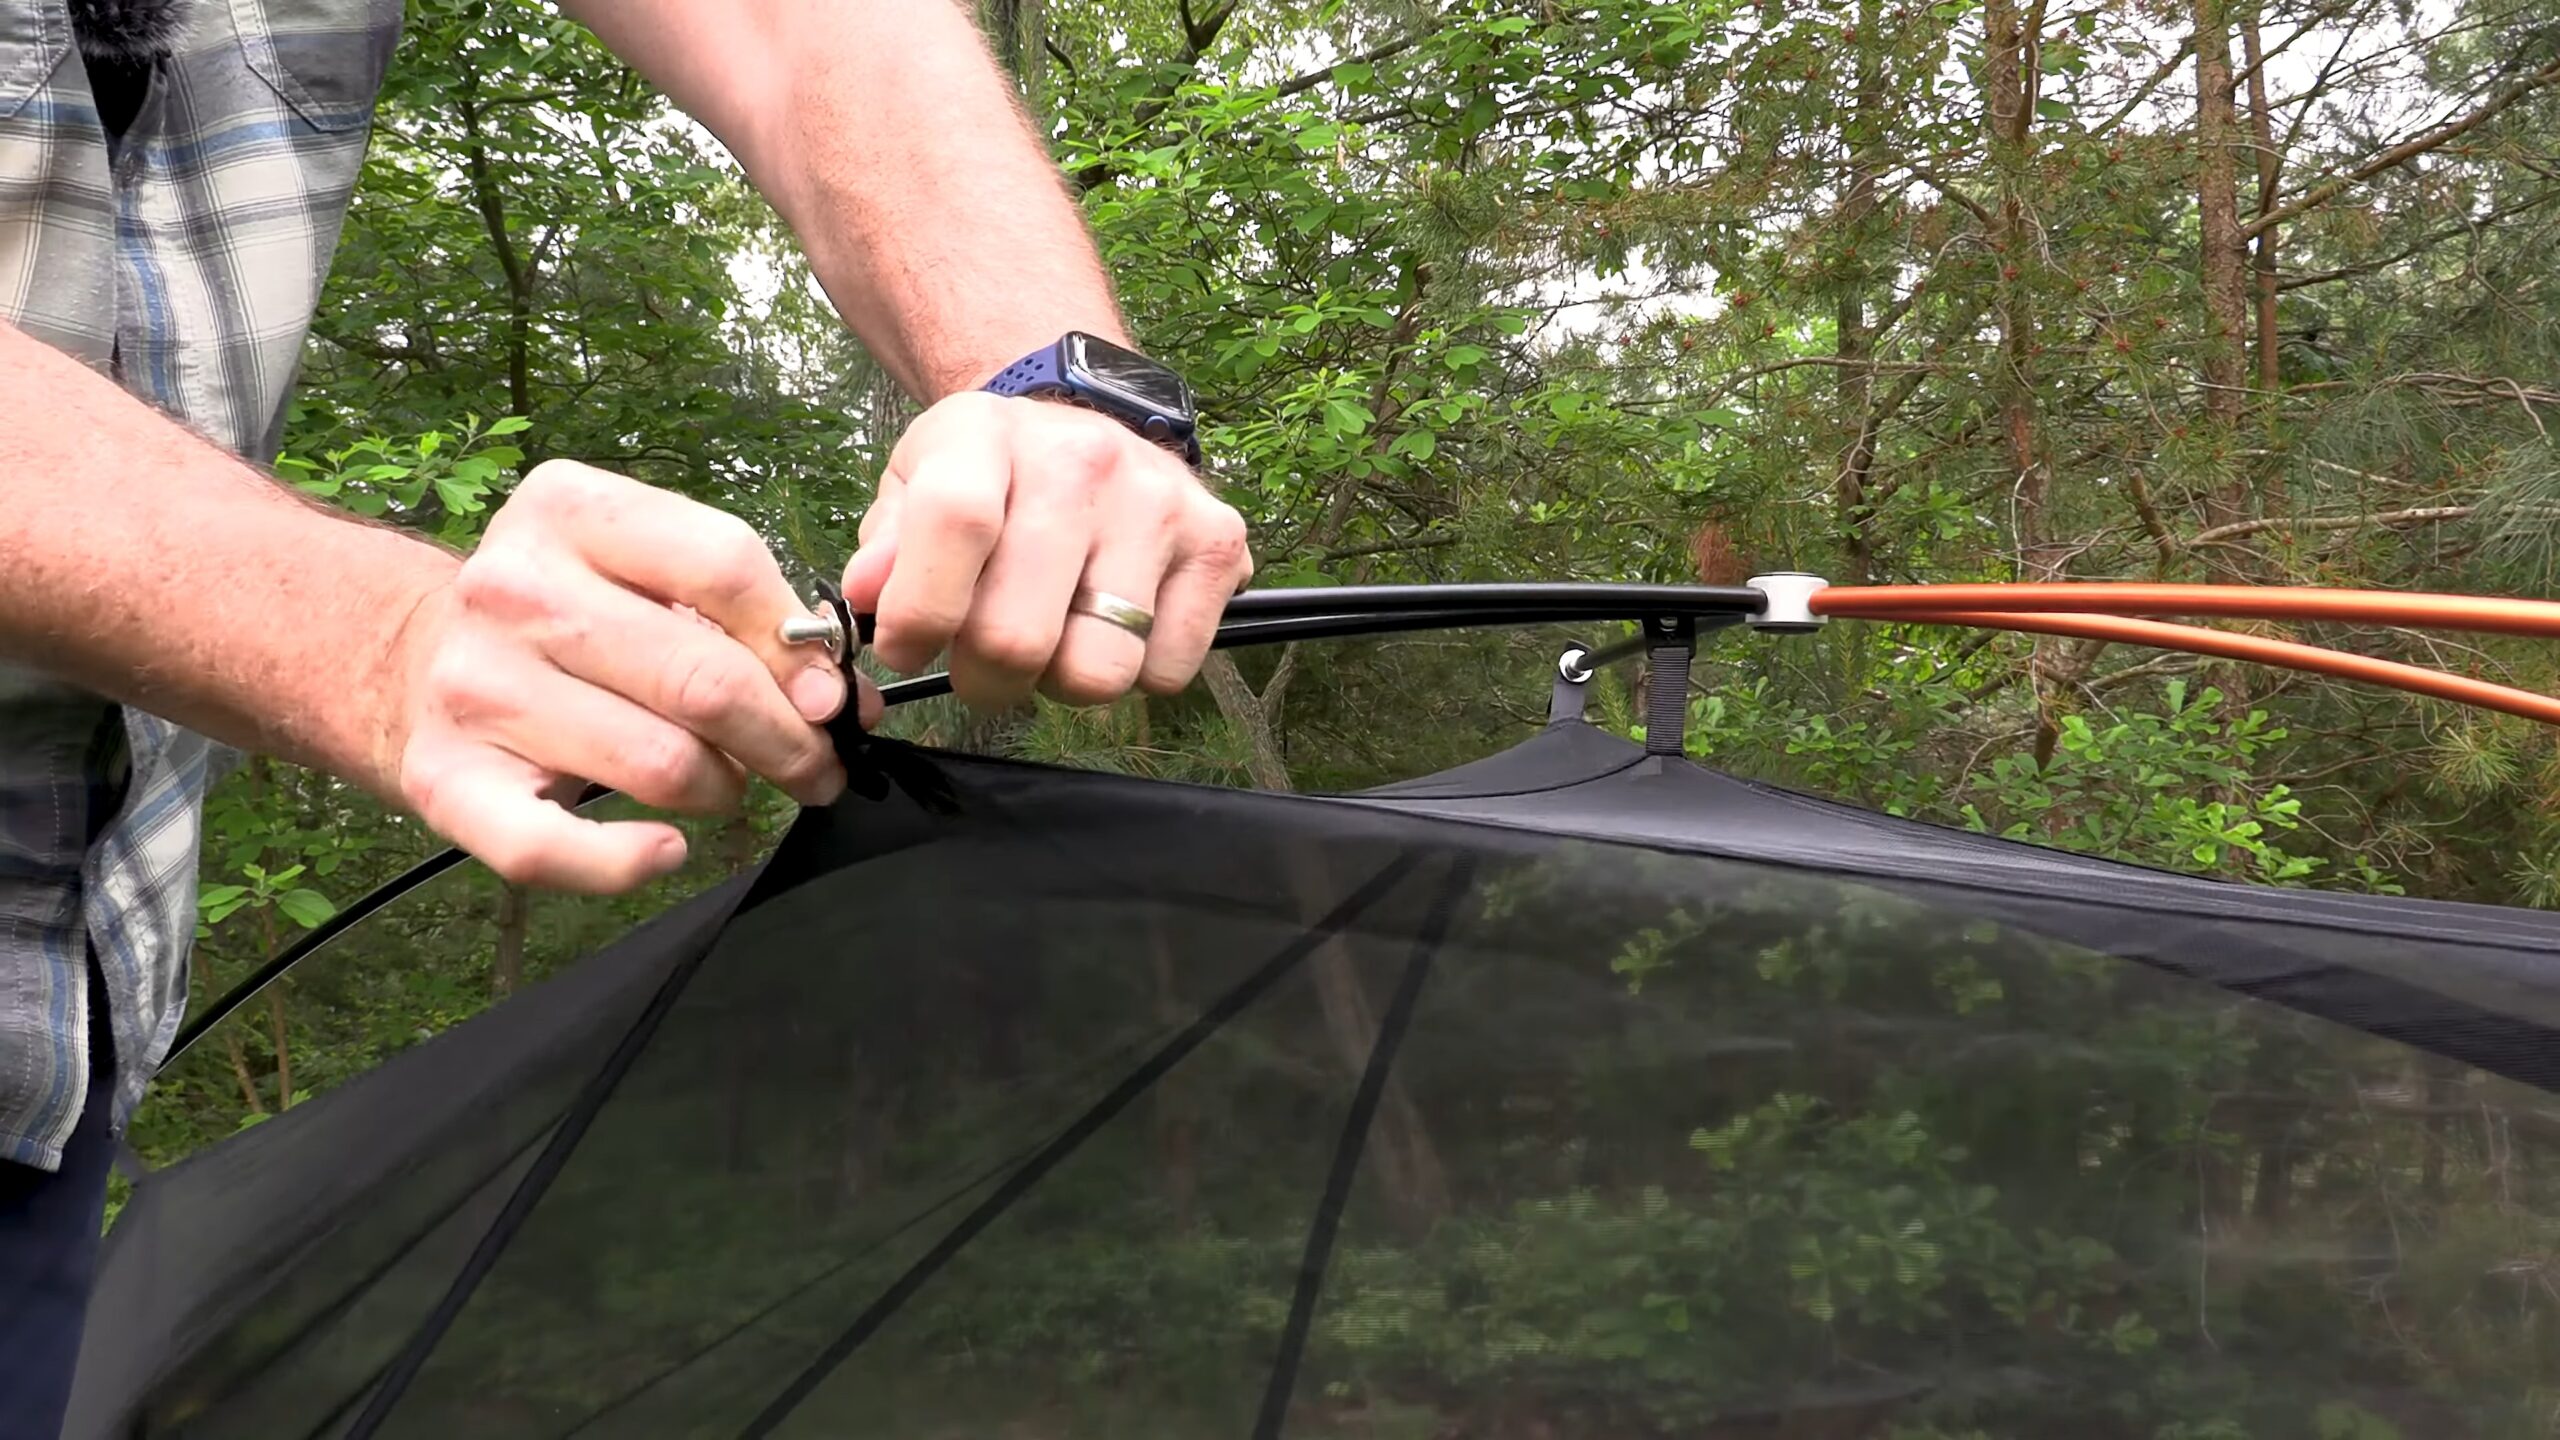
The next step is to assemble the framework. This usually involves connecting the poles, which are the backbone of your shelter. Most modern shelters are designed with user-friendly features like color-coded poles for ease of assembly.
Once the poles are connected, they are attached to the fabric of the shelter, either through clips, sleeves, or hooks. With the poles attached, you’ll then lift the structure, which often requires a little bit of maneuvering to get everything in place.
3. Securing the Tent
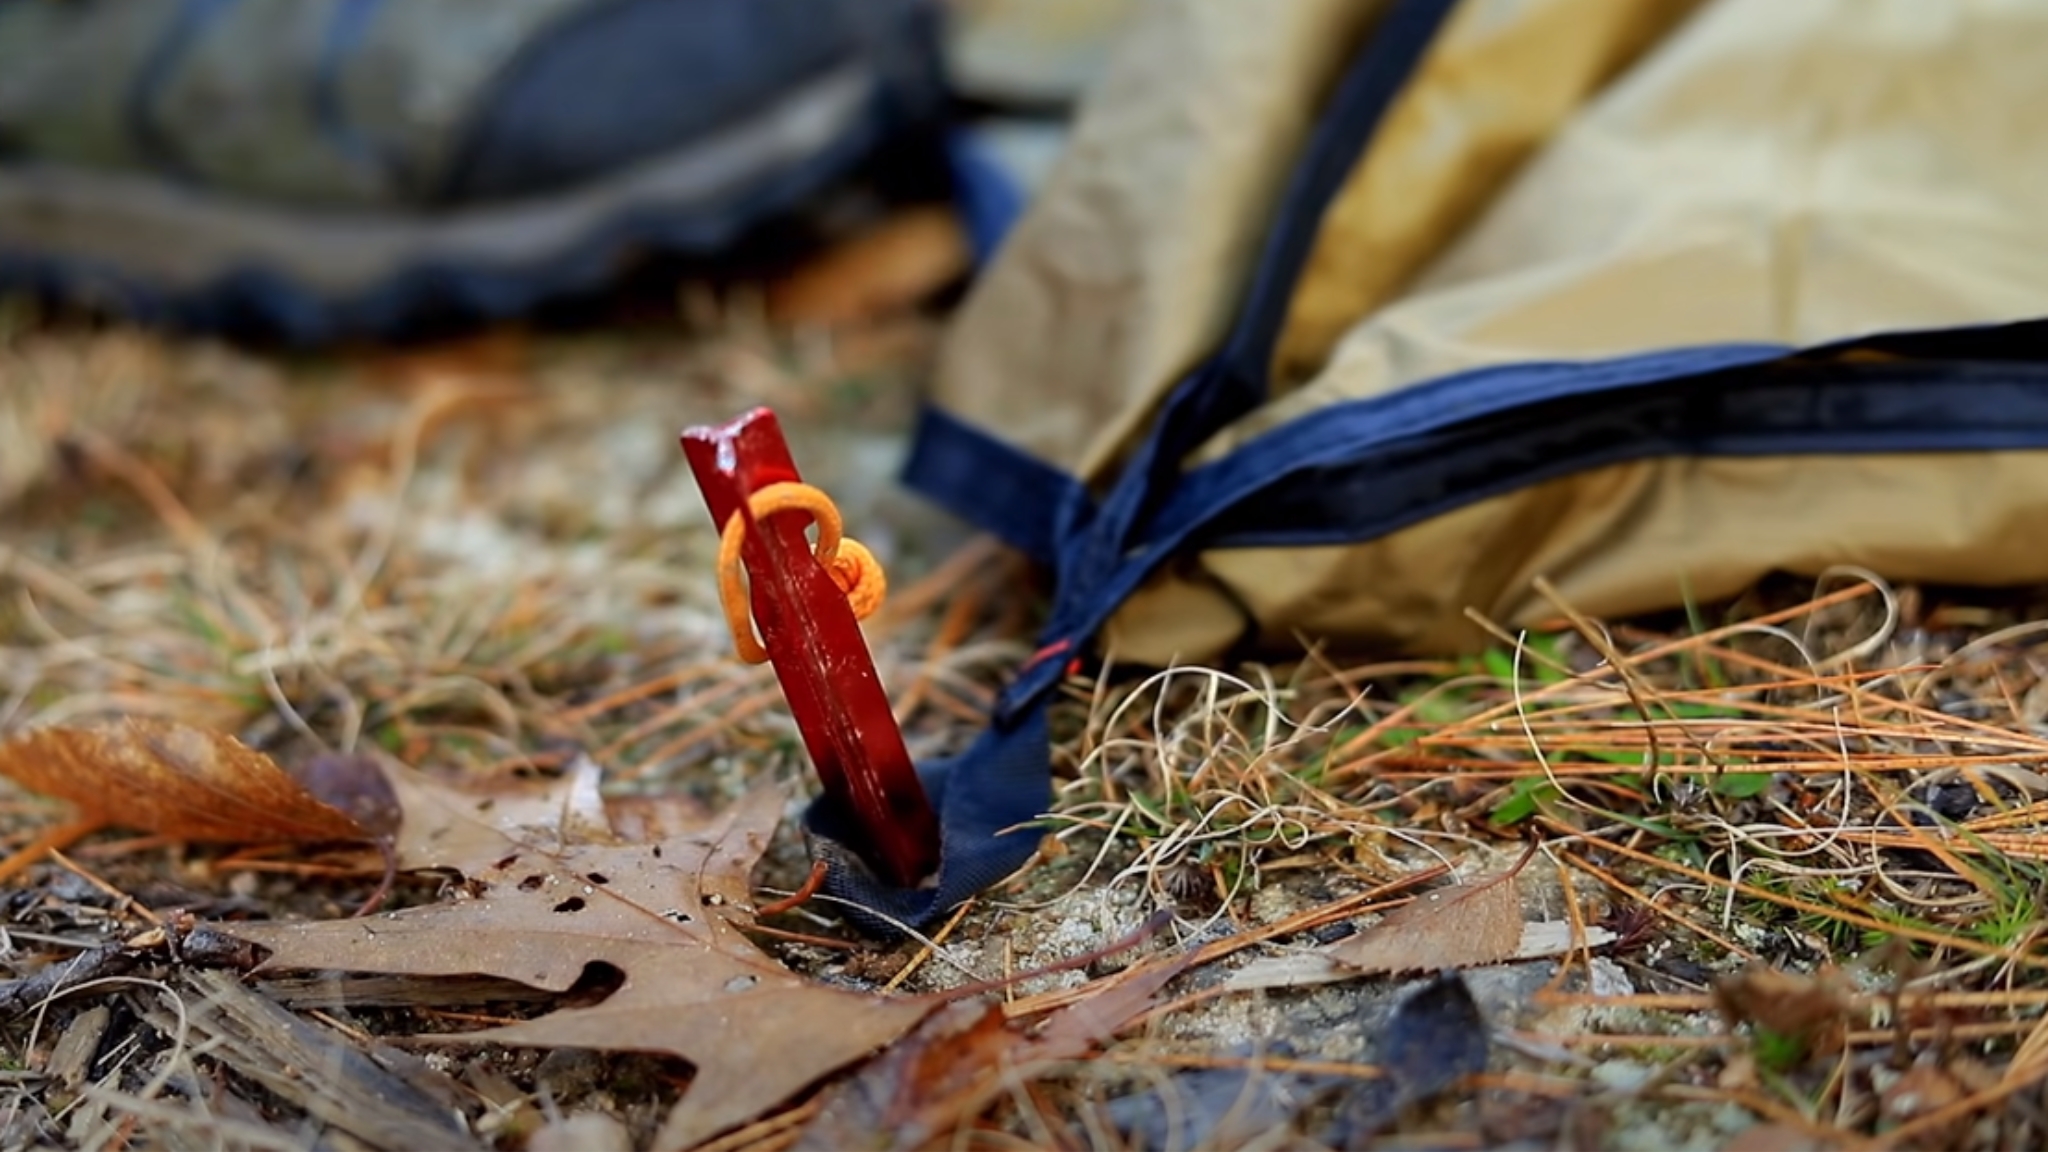
With the structure standing, it’s time to secure it firmly to the ground. Proper anchoring is crucial for stability and to withstand the elements.
| Equipment | Quantity | Description |
|---|---|---|
| Poles | 1 set | The skeleton of the shelter |
| Stakes | 1 set | For anchoring to the ground |
| Rainfly | 1 set | For protection against rain |
| Footprint | 1 set | For ground moisture protection |
Stake down each corner, pulling the floor taut to eliminate wrinkles and create a smooth interior surface. Guy lines are your next line of defense, especially in windy conditions. Attach and stretch them out, using rocks or other heavy objects if the soil is too soft for stakes.
You should ensure that using a backpack stove in a tent is possible if the weather conditions do not allow it outside. To do that, you need to find the proper stove type.
Where Should You Raise the Tent
Raising a tent on any location will simply not do. You need to be careful about finding the right place. The location you select is the foundation upon which everything else rests. A good site is flat, which will not only ensure that your sleeping bag is on a level surface but also that you’re not at the mercy of water runoff if it rains.
Drainage is another key consideration; look for a site that is elevated or has a slight slope to prevent water accumulation. Natural shelters such as tree canopies can offer protection from the elements, but it’s important to be mindful of potential hazards like loose branches that could fall.
Once you’ve pinpointed the ideal location, the next step is to prepare it. This involves a thorough inspection and cleaning. Remove rocks, sticks, and other debris to protect the bottom of your shelter and ensure a comfortable night’s sleep. It’s also wise to look out for ant hills, bee hives, or any wildlife burrows that could cause problems.
If you have a ground cover, also known as a footprint, lay it out. This extra layer serves as a barrier against moisture and can help prevent punctures or tears in the bottom of your shelter.
One of the factors that will determine the right place is what kind of camping you are interested in. There are many variants, among those you can find primitive, dry, stealth camping and many more.
Tent size significantly impacts finding the right camping location, primarily due to spatial requirements, environmental considerations, and campsite regulations.
Here’s an overview of these impacts:
- Space Availability: Larger tents, like 4-person ones, need more flat, open space for setup. In densely wooded or rocky areas, or in campsites with limited space, fitting a large tent can be challenging. Smaller tents offer more flexibility, allowing campers to utilize smaller or more irregular spaces that wouldn’t accommodate larger tents.
- Environmental Impact: In wilderness or backcountry camping, adhering to “Leave No Trace” principles is crucial. Larger tents can have a greater environmental impact, as they often require more clearing of ground cover. Smaller tents are generally better for minimizing your impact on the land, as they can often be placed in existing clearings.
- Campsite Regulations: Some campgrounds have restrictions on the size of tents or the number of tents per site. Larger tents might exceed these limits, necessitating the booking of additional or specific sites, whereas smaller, 2-person, tents are typically more versatile in adhering to these rules.
Choosing the Tent Based on Camping Style
| Style | Tent Setup Considerations | Location Tips | Environmental Impact |
|---|---|---|---|
| Dry | Proximity to natural water sources, water purification | RV parks, campgrounds without hookups | Minimal |
| Primitive | Lightweight, low-visibility tent, minimal landscape alteration | Remote, undeveloped areas | Very Low |
| Stealth | Natural color scheme, easy to dismantle | Concealed, unestablished locations | Low to None |
Organizing Your Equipment
Before diving into the setup, it’s crucial to have all your equipment in order. A well-organized gear setup can make the difference between a quick, easy shelter assembly and a frustrating experience that eats into your relaxation time.
| Step | Action | Tool Used |
|---|---|---|
| 1 | Peg corners | Stakes |
| 2 | Attach guy lines | Ropes |
| 3 | Adjust for tension | Hands/rocks |
Depending on your shelter model and the conditions you expect to face, you may need to add items to this list.
Advanced Setup Tips
With the shelter in place, there are additional measures you can take to ensure it stands up to the elements and provides a comfortable living space.
Weatherproofing Your Tent
To weatherproof your shelter, consider the following bullet points:
- For Rain: Apply a waterproof sealant to seams annually, use a full-coverage rainfly, and position a tarp above your shelter if you expect heavy rain.
- For Wind: Orient the structure with the back facing the wind and use all available guy points to anchor it securely.
- For Cold: Use a thermal blanket or a specialized sleeping pad beneath your sleeping area for insulation, and ensure the entrance is well sealed.
Enhancing Comfort and Utility
To enhance the comfort and utility of your shelter, create vestibules for storing gear, ensure proper ventilation by adjusting the windows or vents, and consider additional accessories like gear lofts or interior pockets for organization.
Safety and Maintenance
The longevity and safety of your shelter are paramount. The same can be said about any gear really, like stoves, pillows, sleeping bags, etc. However, in the case of tents, this is even more important for a simple reasons. Therefore, you should:
- Regular Checks: Inspect for damage or wear after each trip and before setup.
- Heater Use: If using a heater, confirm it’s safe for indoor use and that there’s adequate ventilation.
- Proper Storage: Always dry your shelter completely before storing to prevent mold and mildew.
FAQs
What do I need to know before setting up a tent?
Before setting up a tent, you should be familiar with the type of tent you have and its specific assembly instructions. Know the components included, such as poles, stakes, and rainfly. It’s also important to understand the terrain and weather conditions of your campsite. Check for level ground, natural shelter, and potential hazards.
How often should I check my tent for wear and tear?
It’s advisable to check your tent for wear and tear both before and after each camping trip. Look for signs of damage to the fabric, such as rips or holes, and ensure that the seams are intact. Check the poles for bends or breaks and the stakes for rust or deformation.
How can I make my tent setup eco-friendly and leave no trace?
To make your tent setup eco-friendly, choose a campsite on durable surfaces and avoid altering the site more than necessary. Use existing campsites and trails to minimize impact on the environment. Stick to non-invasive stakes and avoid hammering or digging into the ground..
What is the proper way to store a tent after camping?
The proper way to store a tent after camping is to first ensure it is completely dry to prevent mold and mildew. Clean the tent of any dirt or debris and repair any damage. Disassemble the tent carefully, rolling it up rather than folding to avoid creases that can stress the fabric. Store the tent in a cool, dry place away from direct sunlight.
The Bottom Line
As we wrap up this guide, remember that setting up a shelter is more than a routine task; it’s the art of crafting a home away from home. With the right preparation, a methodical approach, and a touch of finesse, you can transform a simple structure into a sturdy, welcoming retreat.
So, the next time you step into the great outdoors, take these lessons with you, and you’ll find that the comfort of your campsite becomes a highlight of your adventure.
Hey everyone, I’m Jared. Outdoor life wasn’t something I inherited. My parents had never been on a trail or in a tent. The outdoors found me another way. My best friend in middle school had a deep appreciation for nature, and his enthusiasm rubbed off quickly. We spent countless afternoons trekking through local trails, soaking up everything we could along the way.
That interest never faded. Through college, I kept hiking and spending as much time outdoors as possible. After junior year, I took a break from school to chase a dream: completing the Appalachian Trail. I made it through, but not without setbacks. I spent nearly every dollar I had on gear—some pieces were solid, but others let me down hard. One highly praised backpack barely survived a week. Watching money vanish like that stung. No one deserves to be misled.
Too many reviews felt like fluff. I knew something had to change. I started asking other hikers and survivalists what they looked for, what they struggled with, and what they wish they had known sooner. Over time, a clear picture formed. People didn’t just need help picking gear—they needed to avoid unnecessary purchases. They wanted clear answers, honest reviews, and practical advice.
That’s when GearDesciple began to take shape. It started as a passion project and became a trusted source for survival, hunting, and everyday carry insights.
As the site grew, so did the workload. Late one night, I called my brother Matt and pitched the idea of joining forces. He jumped in, and it turned out to be one of the best moves I’ve ever made. His dedication and insights strengthened the site, and together we’ve built something we’re proud to share.