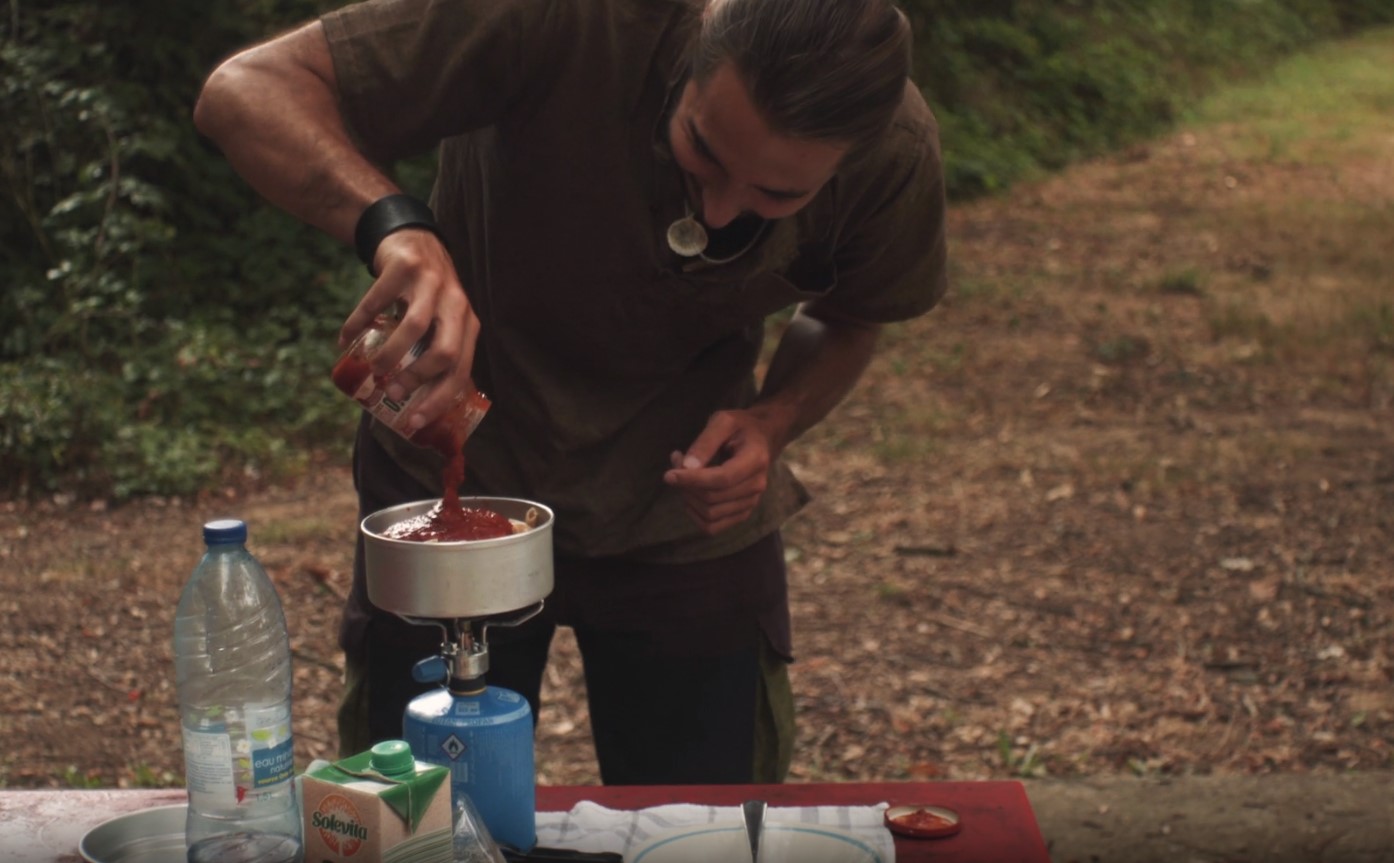
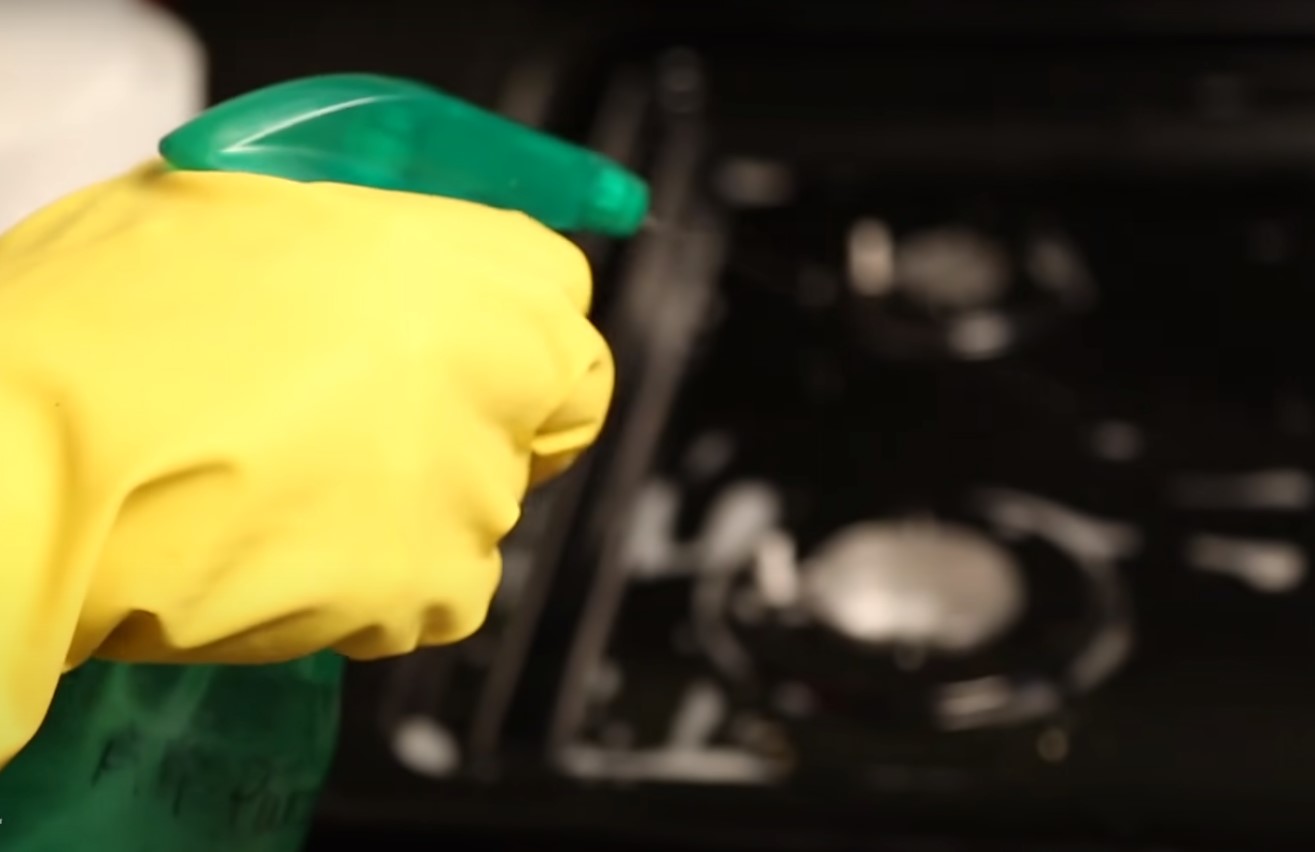
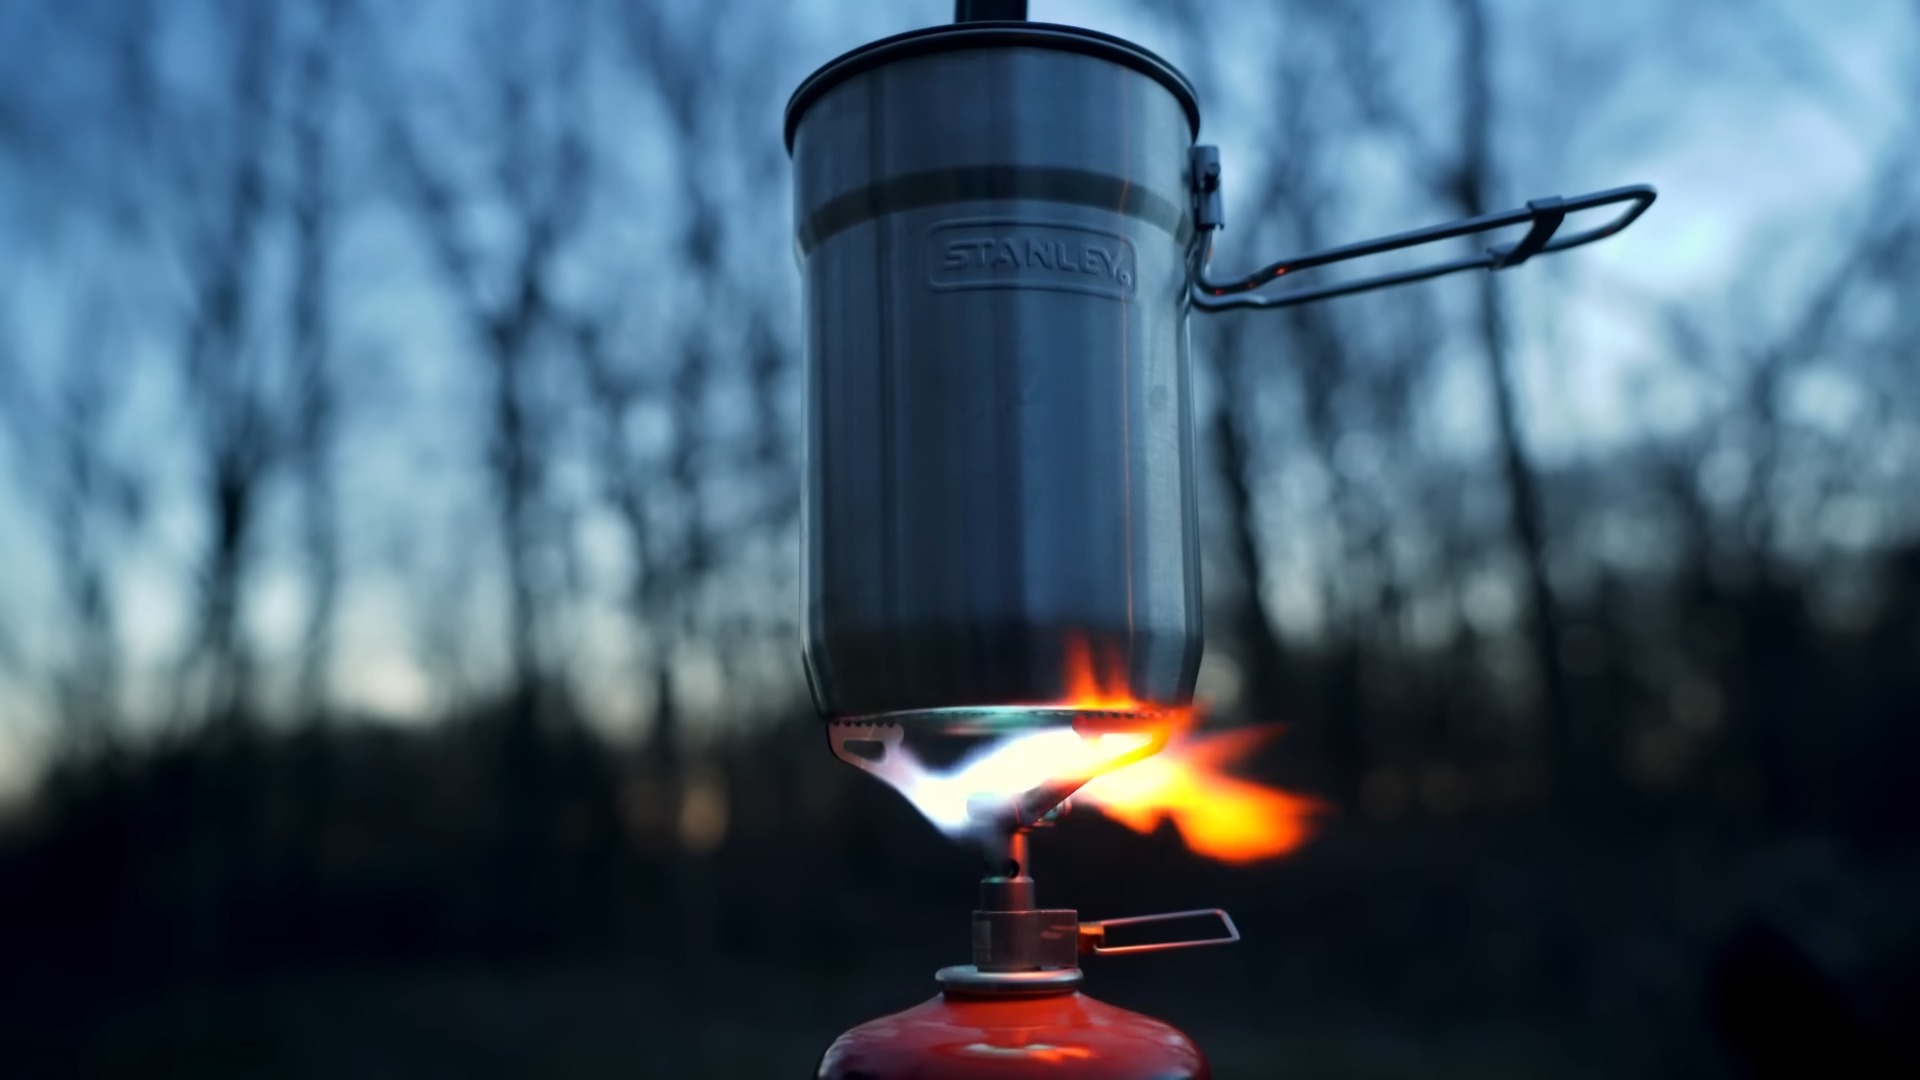
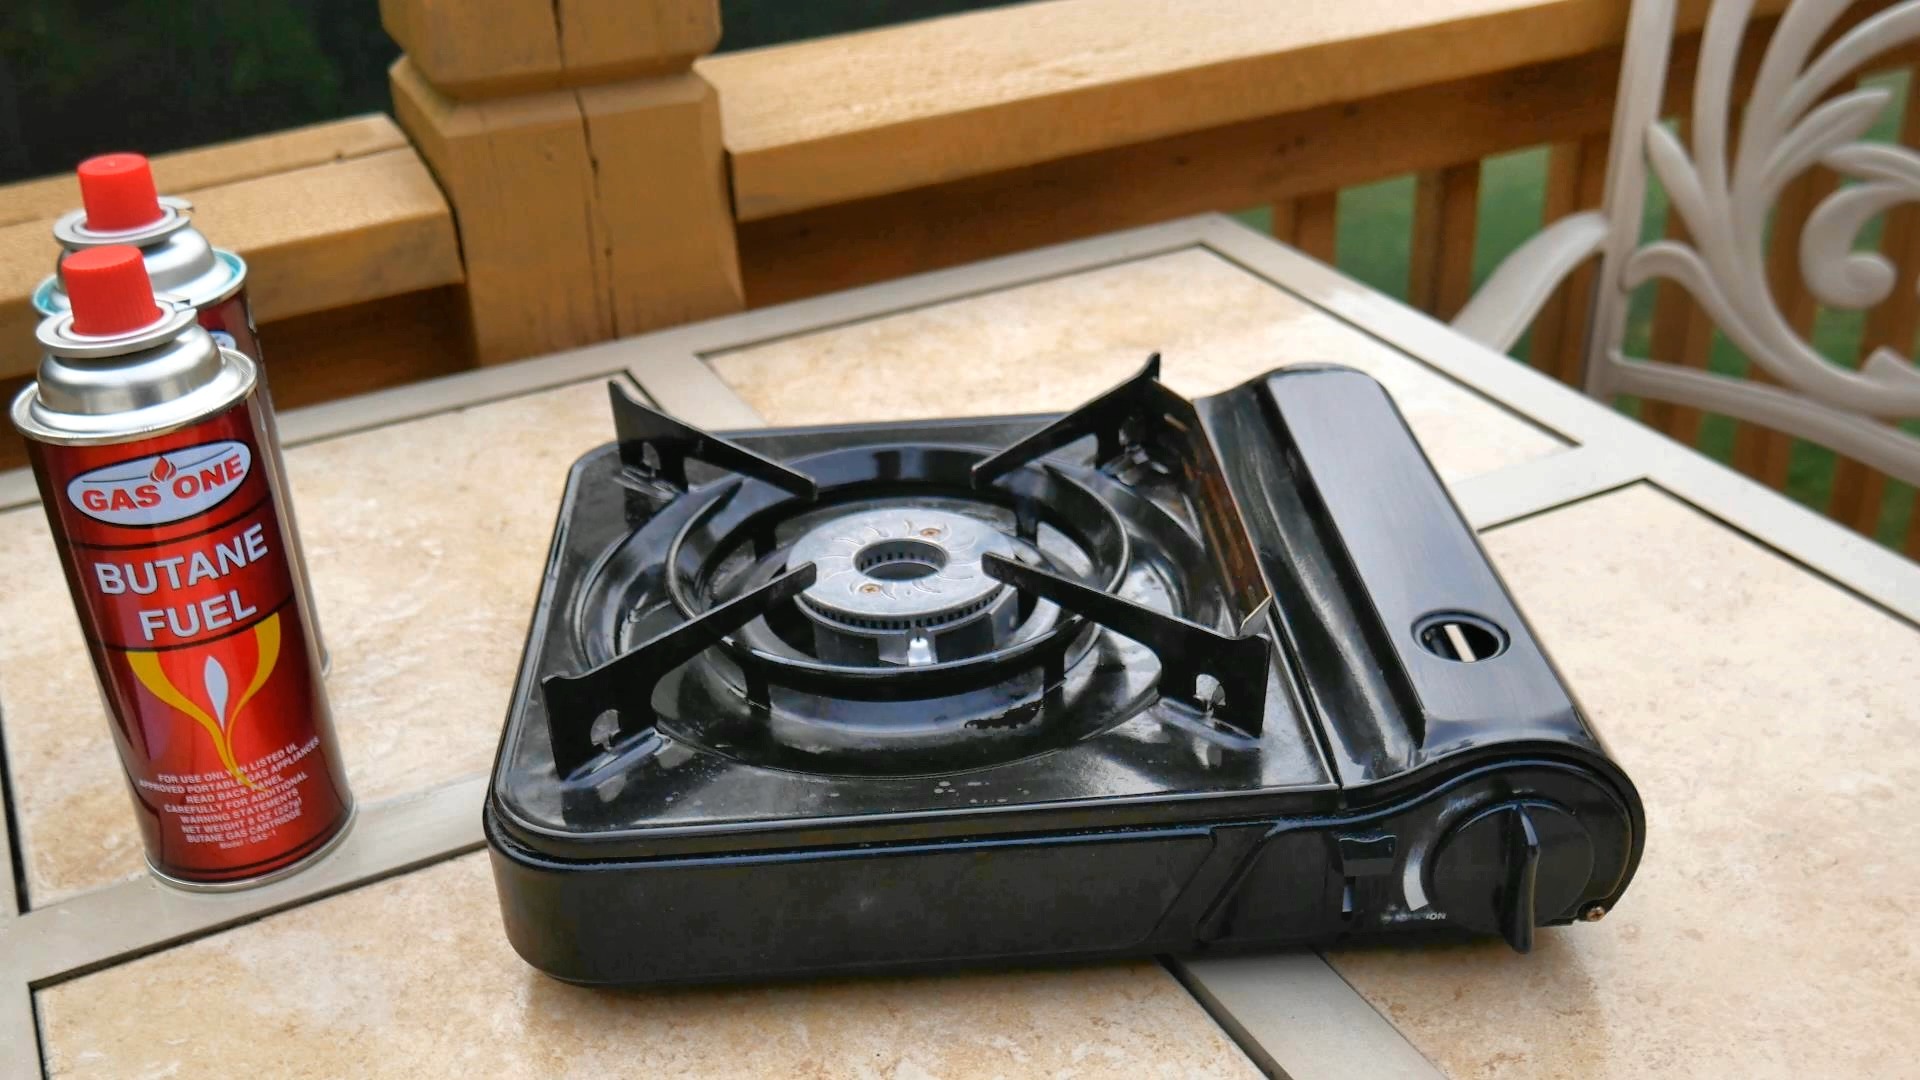
The centerpiece of this outdoor culinary space is often the cooking apparatus, which, like any well-used tool, requires regular care to function at its best.
Over time, I’ve honed my approach to keeping this essential gear in top shape, ensuring that each meal I prepare is as enjoyable to cook as it is to eat. It is something you need to think about before you raise your tent.
Now, I want to share my two cents on the thorough cleaning process that’s necessary after every camping.
Buckle up and let us begin.
Cleaning Different Types

Cleaning different models of outdoor cookers is a task that requires an understanding of their unique designs and cleaning needs. Therefore, you will need to find the proper model for yourself first, and that will have a significant impact on how you will maintain it.
Whether you’re dealing with a canister model, a liquid fuel variant, or an alternative fuel option, each has its own set of cleaning protocols to ensure it remains in optimal working condition.
Canister Models
These are often favored for their convenience and ease of use. They can accumulate cooking residue and debris that can affect performance. Here’s how to approach their maintenance:
- Surface Wipe-Down: I start with a soft cloth dampened with warm water, sometimes adding a bit of mild detergent. It’s important to gently wipe the exterior to remove any grime or spills.
- Burner Head Cleaning: The burner head is crucial for an even flame. I use a small brush or an old toothbrush to meticulously clean around the burner ports, removing any food particles or debris that could block the gas flow.
- Jet Inspection: The jet is the heart of the canister model, and any blockage here can cause problems. A fine needle or a specialized tool is used to clear the jet, ensuring a consistent and powerful flame.
Liquid Fuel Variants
These robust models are designed for a range of fuels and are known for their reliability in diverse conditions. They require a bit more in-depth maintenance:
- Fuel Line Inspection and Clearing: I always check the fuel line for any clogs or debris, using a cleaning wire or brush specifically designed for this purpose.
- Pump and Valve Maintenance: The pump must be checked for wear and lubricated regularly, while the valve needs to be inspected for any signs of damage or leakage. I ensure that all moving parts are clean and moving freely for optimal flow and performance.
- Fuel Bottle and Cap Cleaning: Residual fuel can leave deposits in the bottle and cap. I make sure to empty and wipe these components, using a fuel-compatible cleaner to prevent any build-up.
Alternative-Fuel Options
These are becoming increasingly popular for their use of renewable resources and are particularly appreciated by eco-conscious campers:
- Ash Disposal: After use, once the ash is cool, I carefully remove it from the combustion area. This prevents accumulation that can hinder airflow and reduce efficiency.
- Combustion Area Care: I pay special attention to the area where the fuel burns. This often involves brushing out the ash and wiping down any soot with a damp cloth.
- Residue Removal: Residues from burnt fuel can be stubborn. A soft brush and mild detergent are used to clean any build-up, ensuring that the next burn is as clean as the first.
By addressing the specific cleaning needs of each type of model, I ensure that my gear is not only ready for its next outing but also that its lifespan is extended through proper care.
Regular maintenance of these key areas means that when the time comes to fire up the cooker in the great outdoors, it will perform as expected, without any hiccups or inefficiencies.
Step-by-Step Cleaning Process

The cleaning ritual for my outdoor cooker is meticulous but straightforward. It begins with a careful disassembly. I remove the burners, grates, and any other detachable parts, placing them on a clean surface.
This not only allows me to clean areas that are typically hidden during use but also to inspect each component for wear or damage. With the parts laid out, I start with the burner assembly. Using a small wire brush, I gently scrub around the burner heads, paying close attention to the ports where the flame emerges.
For any stubborn blockages, a specialized jet-cleaning tool or a fine wire is invaluable. It’s a delicate process, ensuring that I clear away any obstructions without causing damage. Next is the body of the cooker. A solution of warm water and mild detergent is my go-to for cutting through grease and soot.
With a soft sponge or cloth, I wipe down every surface, taking care not to soak any insulation or electronic components. For those tough spots, a plastic scraper can lift off burnt-on residue without scratching the finish. Once everything is clean, I rinse the parts with clean water and dry them thoroughly.
It’s crucial to ensure no moisture remains that could lead to rust or mold growth.
Every piece of your gear, like sleeping bags or tents require frequent cleaning frequent maintenance to be in the best possible condition. Sometimes, the one you choose will determine the cleaning process.
Cleaning Stoves Under Different Conditions
Cleaning a stove requires different approaches tailored to each camping style and location, considering the available resources and the need to minimize environmental impact.
1. Primitive Camping
- Water Use: In primitive camping, water sources might be limited. Use minimal water for cleaning and, if possible, collect and use greywater (previously used for washing hands or similar tasks).
- Biodegradable Soap: Use biodegradable soap to minimize environmental impact. Even so, avoid letting soapy water run into natural water sources.
2. Dry Camping
- Water Conservation: In dry camping environments, water conservation is key. Wipe down the stove with a dry or slightly damp cloth to remove residue.
- Sand or Soil: For tough stains or buildup, a small amount of sand or soil can be used as a gentle abrasive to help clean the stove surface.
- Portable Water Sources: If you have carried your own water, use it sparingly for cleaning tasks.
3. Stealth Camping
- Quick and Quiet Cleaning: Since stealth camping is about going unnoticed, clean your stove quickly and quietly. A quick wipe with a damp cloth can be effective.
- Compact Cleaning Kit: Carry a small, efficient cleaning kit that doesn’t take up much space and allows for quick cleaning.
Troubleshooting Common Issues

Over the years, I’ve encountered a range of issues that can affect the performance of a camping cooker. Clogged burners are a common culprit, often resulting from accumulated cooking debris or corrosion.
A fine needle or a specialized cleaning tool can dislodge these blockages, restoring a strong, even flame. Rust and corrosion are other adversaries, particularly for cookers that have seen many seasons. A paste made from baking soda and water, applied with a soft brush, can remove rust without harming the underlying metal.
After treating any rusted areas, I apply a thin coat of cooking oil to protect the metal until its next use. Being proactive about these issues is key. Regular inspections and cleanings can prevent many problems from ever taking hold. But when they do arise, a swift response is the best course of action.
Post-Cleaning Care

The reassembly of the cooker is done with care, ensuring each part is returned to its rightful place. I check connections and fittings, making sure everything is secure. It’s this attention to detail that often catches potential problems before they become serious.
Proper storage is the final step in the care of my outdoor cooking gear. I choose a storage location that’s dry and cool to prevent any dampness from settling in, which could lead to rust or mildew. If I’m storing the cooker for an extended period, I make sure to protect it with a breathable cover, allowing air circulation while keeping dust and insects out.
This comprehensive approach to cleaning and care ensures that my cooker remains a reliable companion on my outdoor adventures. It’s not just about preserving a piece of equipment; it’s about safeguarding a vital part of the camping experience.
Cleaning doesn’t only have the aim to keep the device safe for preparing food, but generating the warmth that will keep yours warm in a tent if you insulate yourself properly. Of course, using a stove inside a tent is a no-no.
FAQs
How can I prevent food from sticking to my stove?
Use a non-stick spray or regularly clean the surface before cooking.
What should I avoid doing when cleaning my camping stove?
Avoid immersing the entire stove in water or using abrasive cleaners.
How do I clean a wood-burning camping stove?
Empty the ash and scrub the stove with a wire brush.
Can vinegar be used to clean a camping stove?
Yes, it’s effective for removing corrosion and buildup.
How do I clean the knobs on my camping stove?
Remove them if possible and clean with soapy water.
Can I use oven cleaner on my camping stove?
Only if it’s recommended by the manufacturer, as it can be too harsh for some coatings.
The Bottom Line
Reflecting on the countless meals I’ve prepared in the wilderness, I’m reminded that the effort put into maintaining my equipment is a crucial part of the journey.
A clean cooker is more than just a practicality—it’s a cornerstone of the camping experience, ensuring each adventure is as fulfilling as the last.
Regular care is not just maintenance; it’s a ritual that honors the memories made and those yet to come.
Hey everyone, I’m Jared. Outdoor life wasn’t something I inherited. My parents had never been on a trail or in a tent. The outdoors found me another way. My best friend in middle school had a deep appreciation for nature, and his enthusiasm rubbed off quickly. We spent countless afternoons trekking through local trails, soaking up everything we could along the way.
That interest never faded. Through college, I kept hiking and spending as much time outdoors as possible. After junior year, I took a break from school to chase a dream: completing the Appalachian Trail. I made it through, but not without setbacks. I spent nearly every dollar I had on gear—some pieces were solid, but others let me down hard. One highly praised backpack barely survived a week. Watching money vanish like that stung. No one deserves to be misled.
Too many reviews felt like fluff. I knew something had to change. I started asking other hikers and survivalists what they looked for, what they struggled with, and what they wish they had known sooner. Over time, a clear picture formed. People didn’t just need help picking gear—they needed to avoid unnecessary purchases. They wanted clear answers, honest reviews, and practical advice.
That’s when GearDesciple began to take shape. It started as a passion project and became a trusted source for survival, hunting, and everyday carry insights.
As the site grew, so did the workload. Late one night, I called my brother Matt and pitched the idea of joining forces. He jumped in, and it turned out to be one of the best moves I’ve ever made. His dedication and insights strengthened the site, and together we’ve built something we’re proud to share.