Stringing your recurve bow is more than just preparation—it’s a personal rite of passage. As someone who has spent countless hours with fingers on bowstrings and eyes on targets, I appreciate the profound connection between an archer and their bow.
This connection begins with the very act of stringing. It’s not merely a means to an end but the first critical dialogue between you and your bow, where every nuance, from the tension of the string to the flex of the limbs, speaks volumes.
So, let’s set the stage for this archery experience that is both precise and deeply satisfying. The journey from a mere stretch of string to a fully strung bow is where the magic begins, and today, I’ll help you learn about it.
The Essentials You Must Know About
Before we start, it’s crucial to understand the components involved and why proper stringing is vital for both the archer’s safety and the longevity of the bow.
The Bow’s Anatomy
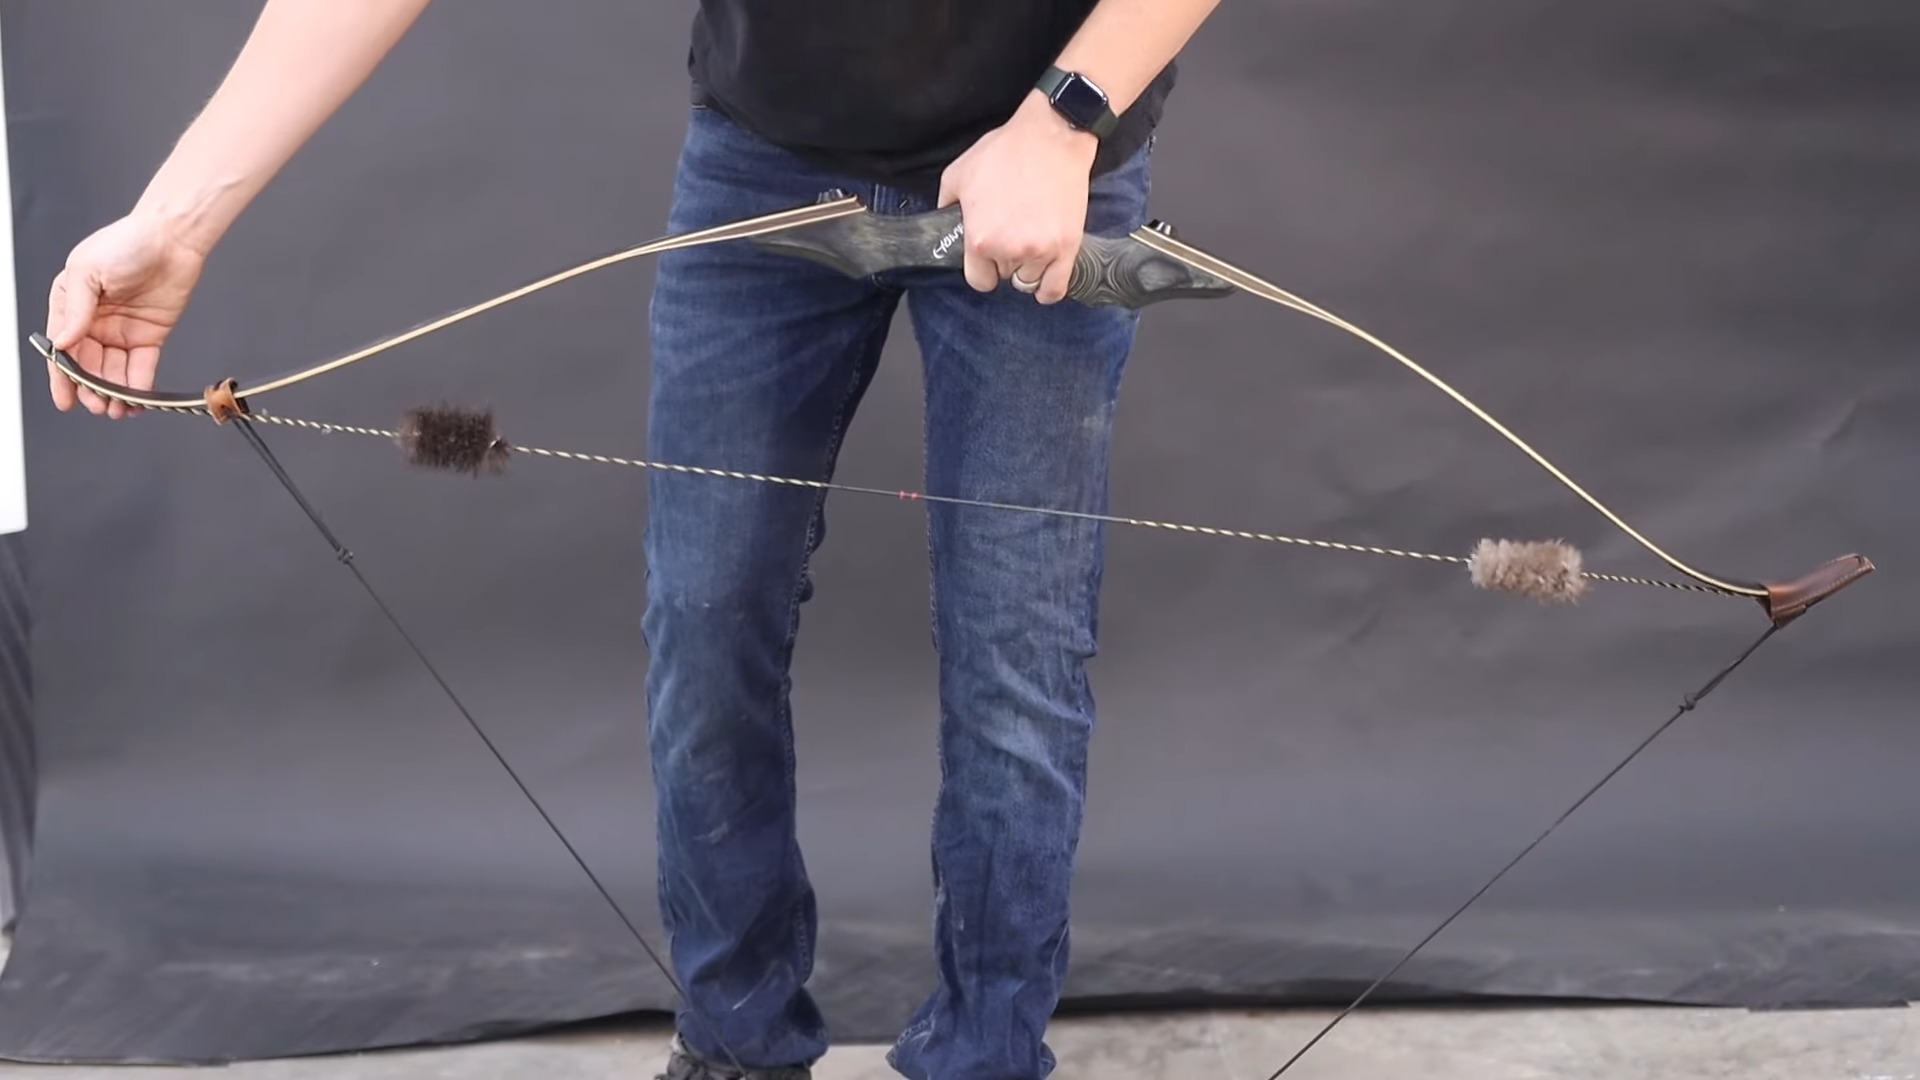
A recurve bow consists of a riser and two limbs that curve away from the archer at the top and bottom. The string connects the tip of each limb. Proper stringing involves attaching this string under tension, which gives the bow its power.
Why Proper Stringing Matters
Improper stringing can lead to limb twisting or damage, reduced efficiency, and, most critically, a safety hazard for the archer. The string’s tension needs to be just right; too loose, and the bow will lack power, too tight, and you risk damaging the bow or the string snapping during use.
Tools for the Job
While it’s possible to string a bow without tools, using a stringer is highly recommended. A stringer is a simple device that helps apply even pressure on the limbs, making it safer and easier to proceed with the stringing process.
Step-by-Step Guide
With the fundamentals in place, let’s walk through the step-by-step process of stringing a recurve bow. This method employs a stringer, the safest and most reliable tool for the job.
Setting Up Your Workspace
Ensure you have a clear area to work in, free from distractions and hazards. Lay out your bow, string, and a stringer. Confirm that the string is the correct length for your bow; it should be slightly shorter than the bow itself to create the necessary tension.
Attaching the String
- Identify the top and bottom limbs of your bow; the bottom limb usually has the bow’s make and poundage written on it.
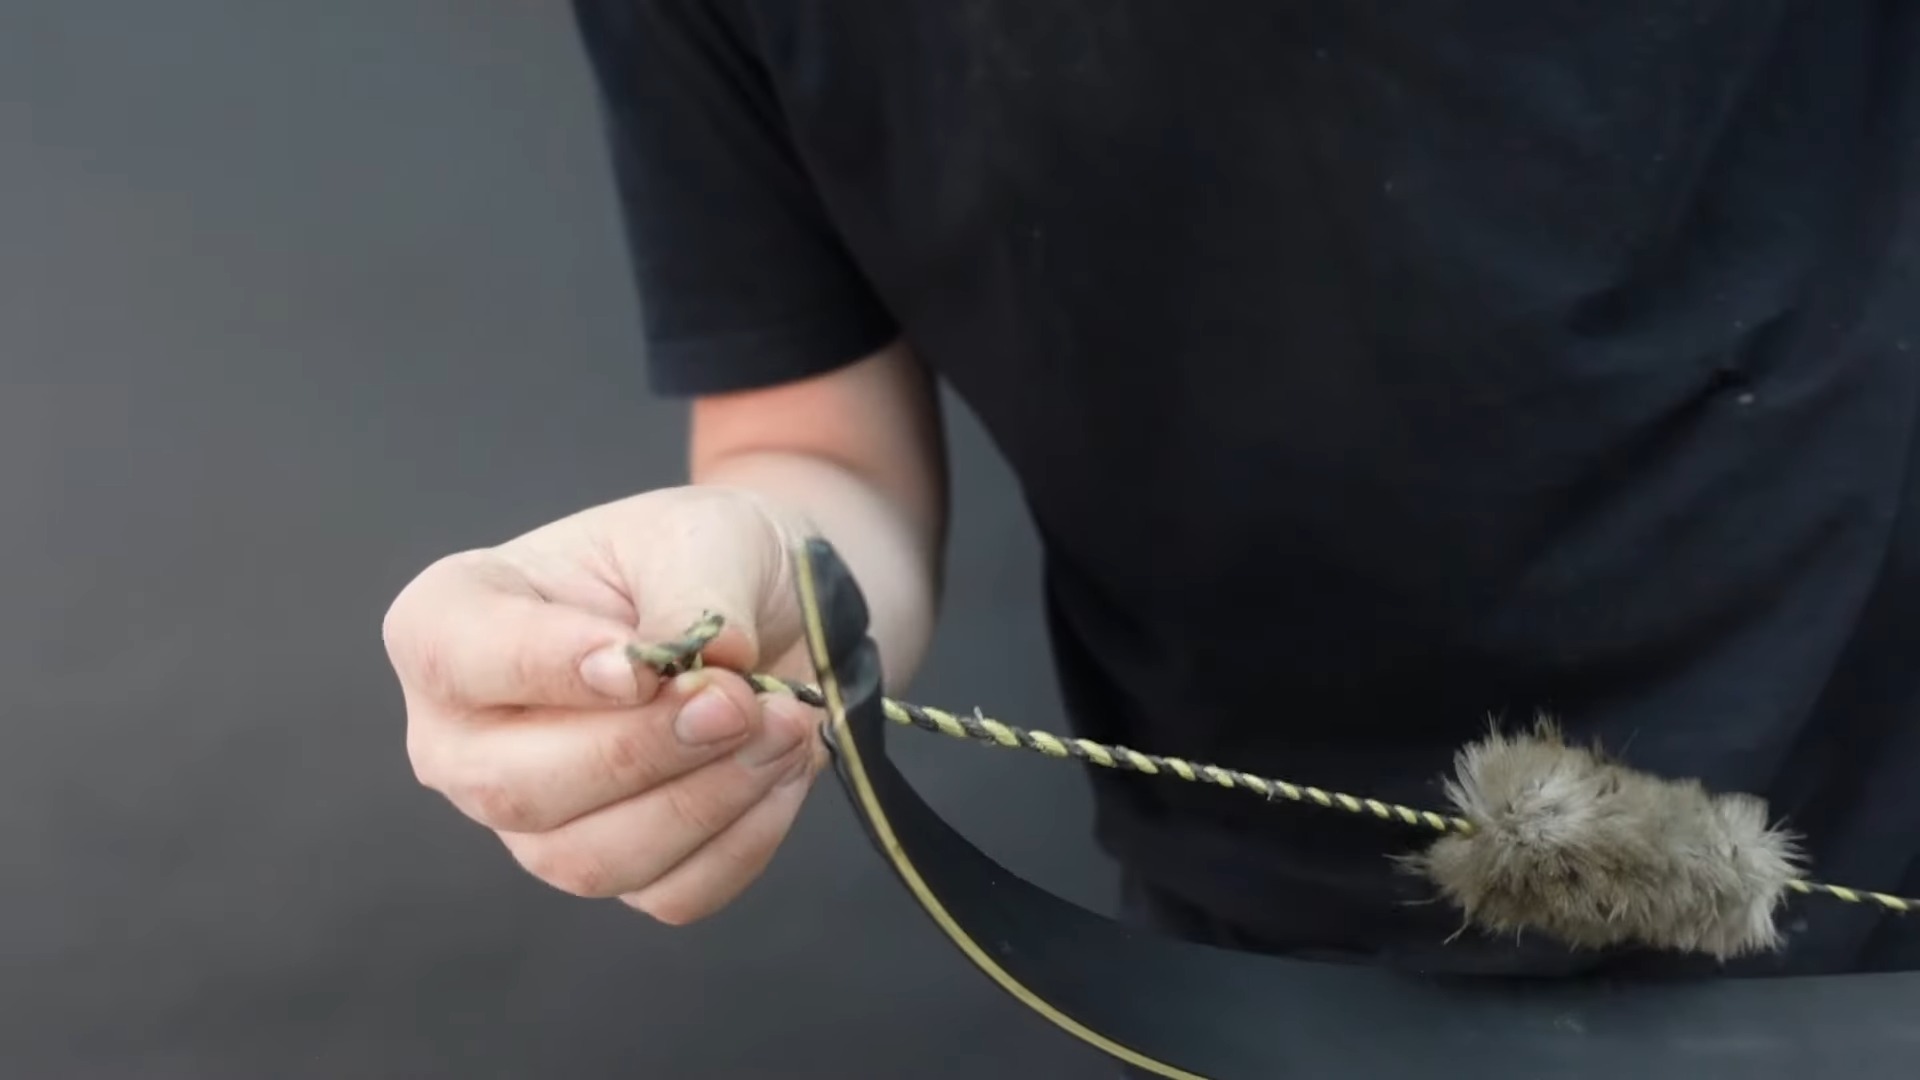
- Slide the larger loop of the bowstring over the top limb and down to the limb’s throat, ensuring it’s seated firmly.
- Place the smaller loop in the notch at the tip of the bottom limb.
Using the Stringer
- Attach one saddle of the stringer to the bottom limb tip over the string’s loop.
- Then, place the other saddle onto the top limb’s tip, ensuring it’s not interfering with the string.
- Stand with your feet approximately shoulder-width apart for stability, and place the bow horizontally onto the ground with the string facing upwards.
Stringing Process
- Hold the bow by the riser with your dominant hand and step onto the bow stringer with your foot to secure it to the ground.
- Pull upwards steadily on the riser until the limbs bend sufficiently for you to slide the string’s upper loop into the notch at the tip of the upper limb.
- Slowly release the tension on the riser, allowing the bow to come back up while ensuring the string is seated correctly in the limb tip notches.
Safety Checks and Fine-Tuning
Once the bow is strung, don’t rush to start shooting. Perform these safety checks and adjustments to ensure everything is in place.
Inspecting the String Fit
Examine the string to confirm that both loops are securely in the limb notches. The string should run straight from tip to tip; if it’s off-center, unstring and restring the bow.
Brace Height Adjustment
The brace height, or the distance from the deepest part of the grip to the string, is critical for the bow’s performance. Check your bow’s recommended brace height and adjust accordingly by twisting the string to shorten it or untwisting it to lengthen it.
Final Safety Check
Give your bow a once-over, looking for any signs of damage or wear. Make sure that the limbs are straight and that there are no cracking or creaking sounds when the bow is gently flexed.
Troubleshooting Common Issues
Even with careful stringing, issues can arise. Here are solutions to some common problems that might occur when stringing a recurve bow.
The String Slips Off the Limb
If the string slips off the limb tip as you’re trying to string the bow, it’s likely because the loop isn’t large enough or isn’t seated correctly in the notch. Make sure the loop is firmly in place before attempting to string again.
Uneven Limb Tension
Uneven tension can result from improper stringing or issues with the limbs themselves. Unstring the bow and inspect the limbs for any inconsistencies. If the limbs look fine, restring the bow, ensuring equal pressure is applied during the process.
Limb Twist
Limb twist is often the result of long-term storage without a string, improper stringing, or a flaw in the limb. If you notice a twist, it’s advisable to have a professional assess the bow.
FAQs
Can I string a recurve bow without any tools?
While it’s possible to string it by hand, known as the “step-through” method, it’s not recommended due to the risk of twisting the limbs or injuring yourself. A bow stringer is the preferred tool as it provides a safer and more controlled stringing process.
How often should I replace my bowstring?
The lifespan of a bowstring depends on usage and care. A general rule of thumb is to replace it at least every two years or sooner if you notice fraying, stretching, or other wear signs. Regular inspections will inform you when it’s time for a replacement.
What’s the best way to store a recurve bow—strung or unstrung?
It’s best to store it unstrung, particularly if it won’t be used for an extended period. This reduces tension on the limbs and can help maintain its shape and functionality. However, if you’re shooting regularly, keeping it strung for a few days at a time is generally fine.
Is there a particular type of string I should use for my recurve bow?
The type of string can vary depending on your bow and shooting preferences. Common materials include Dacron, which is great for traditional or older bows, and more advanced materials like Dyneema or Fast Flight for modern variations. Always check the specifications for the recommended string type.
How can I tell if I’ve strung my bow correctly?
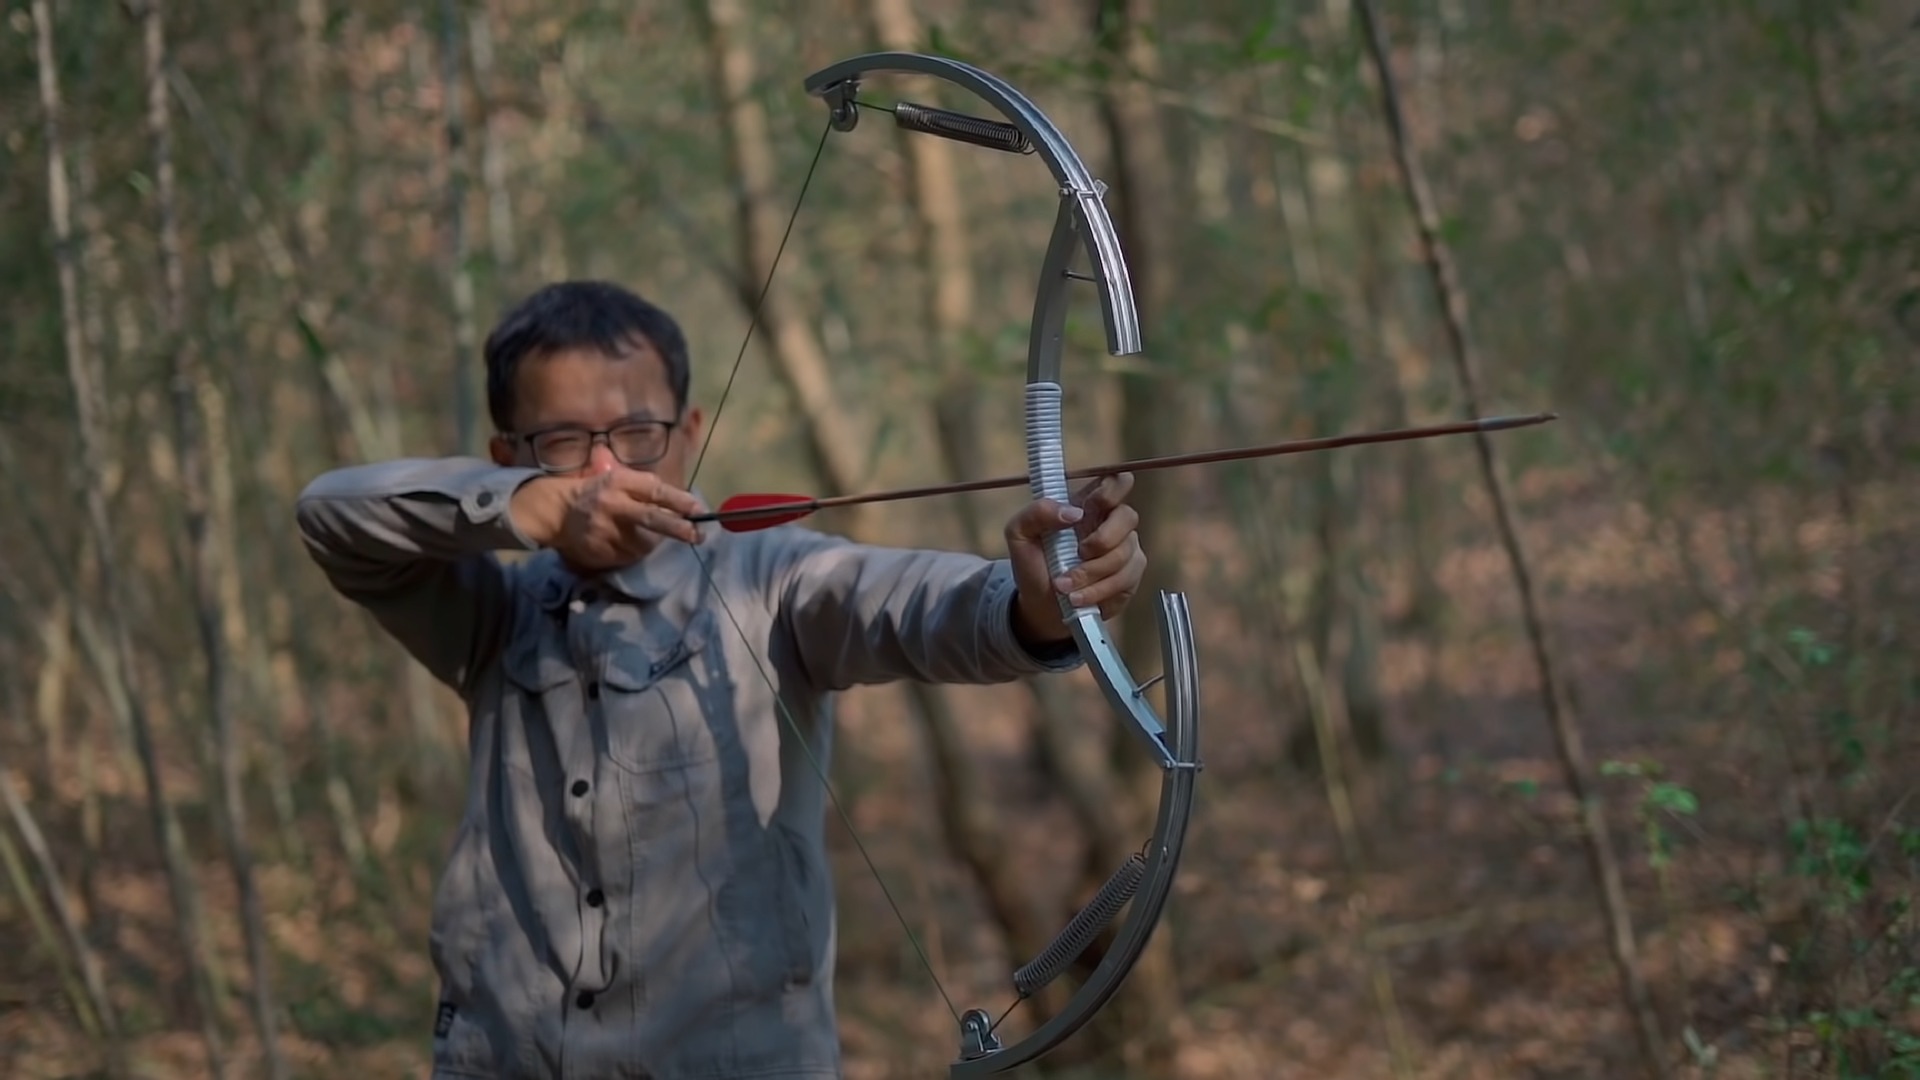
A correctly strung bow will have its string securely in the limb notches, and its limbs will curve away from you. The string should be tight enough to produce a proper brace height, and there should be no twisting in the limbs. Performing a full safety check after stringing is always a good practice.
Can temperature and humidity affect my bowstring?
Yes, extreme temperatures and humidity can affect your bowstring. Heat can cause it to stretch, while cold can make it brittle. High humidity can lead to the absorption of moisture, which might cause the string to swell and affect its length and tension.
It’s important to consider these factors, especially if you’re storing your bow in a non-climate-controlled environment.
Final Words
Stringing a recurve bow requires attention to detail and respect for the equipment. It doesn’t matter if you’re a seasoned archer or new to the sport, perfecting this skill will enhance your archery experience and help maintain your bow for years of use.
Remember, patience and practice are key. Good luck!
I’m Matt, and I’ve been with GearDesciple for about five years after my brother Jared roped me in. I wasn’t always into the outdoors, but a few reluctant hikes turned into a real passion. Now, I help test and review gear with a focus on honest, experience-based advice. As someone who came to outdoor life later on, I’m especially driven to help newcomers find their footing.